


Best Lighting & Accessories for Before and After Medical Photos
Even with years of expertise, highly esteemed course certifications, the newest technology, and premium products, nothing can convince a patient more than seeing real before and after medical photos of your clinic's treatments.
These images present an incredible potential to convert online visitors into patients when it comes to selecting a specific clinic or doctor. Therefore, it is one of the best ways to grow your business.
Why Should You Take Before and After Photos?
Beyond the promotional benefits, these medical photos also play a key role in the patient's journey. It provides a visual roadmap of what to expect and inspires confidence in the procedure. Furthermore, it is an invaluable insight for practitioners to track therapy efficacy and optimise outcomes.
| Read more: How to set up the Perfect Clinical Photography

Tips On How To Take Great Pre and Post Photos
1. Keep everything consistent
The before and after photos must be taken from the same angle to ensure accuracy and consistency. If a patient stands at different angles between each photo, it’s challenging to compare the results. So, to ensure your photos are consistent, you should tape or mark the floor to remember where the patient stands or sits and where the camera should be placed. It is a simple trick to ensure consistency across all of your medical photos. During shooting, avoid zooming in and out and guarantee your subject is in the picture frame while asking the patient to turn around to show all angles and perspectives of the procedure.
When taking facial clinical photography, ask the patient to take off any unnecessary accessories and makeup as needed to prevent distraction. For patients with long hair, tying this back will remove hair from the face, while wearing underwear or swimwear is the best option for body or dermatological photography since it allows the full body and skin to be shown.
| Read more: Medical Lighting Checklist for Improving Your Dermatology Photos

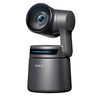
2. Choosing the perfect camera
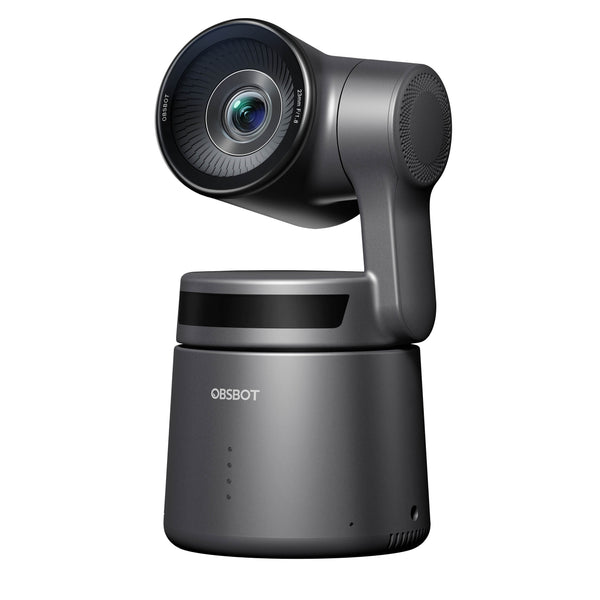
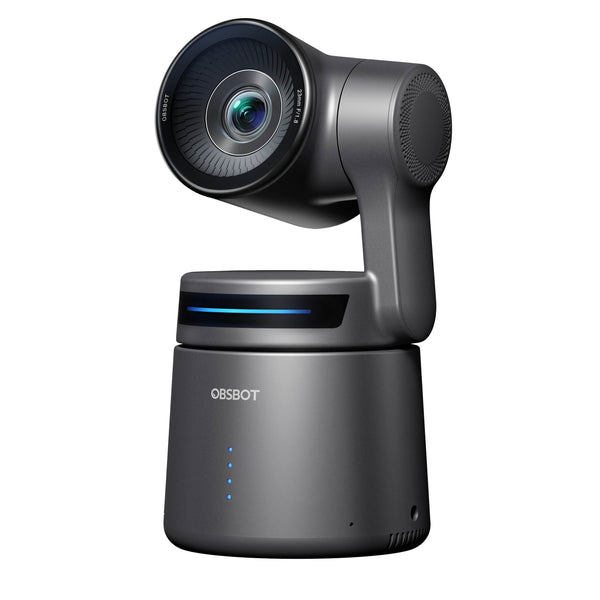
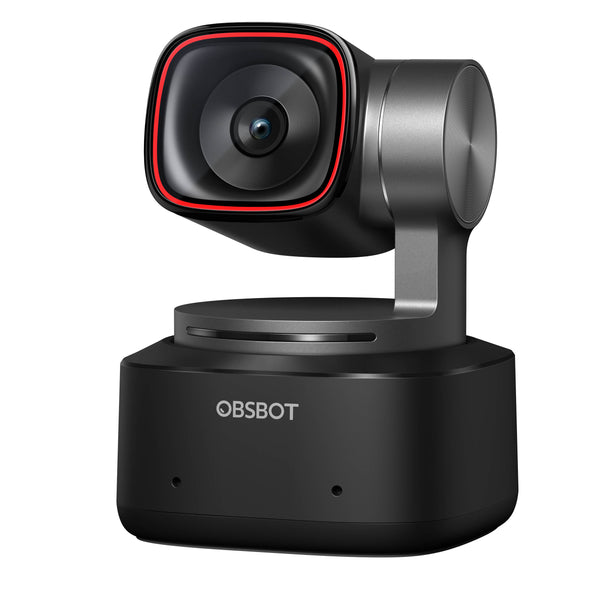
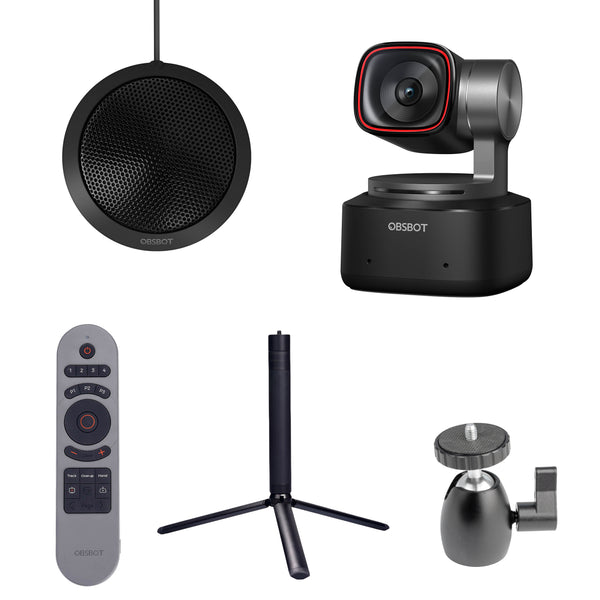
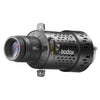
You should also consider investing money in high-quality camera equipment. It’s best to use a DSLR camera or AI tracking camera, as it allow you to take high-resolution medical photos or video clips. For example, the OBSBOT webcams feature an ultra-large 1/1.5” CMOS sensor, which enables them to produce sharper, higher-resolution videos and photos with more accurate colours. You can also set up wide auto, close-up, half-body and full-body photos thanks to its powerful AI technology without needing any physical touch.
| Related blog: Medical and Dentistry Photography
OBSBOT webcams are also handy for running virtual health care monitoring, and offers a way to reliably track a patient's condition through video between appointments. In complex cases, this camera can also be connected with specialists who are working remotely to seek advice, share medical photos, and discuss treatment options.
|
|
|
3. Investing in high-quality lighting
Bad lighting will always mess up your before and after photos, no matter how much you have invested in your camera equipment. Too much shadows can lead to distraction, or distort and make features such as scars or wrinkles appear worse than they look in real life.
Therefore, investing in high-quality studio lighting can help solve these issues because of its versatility and effectiveness.
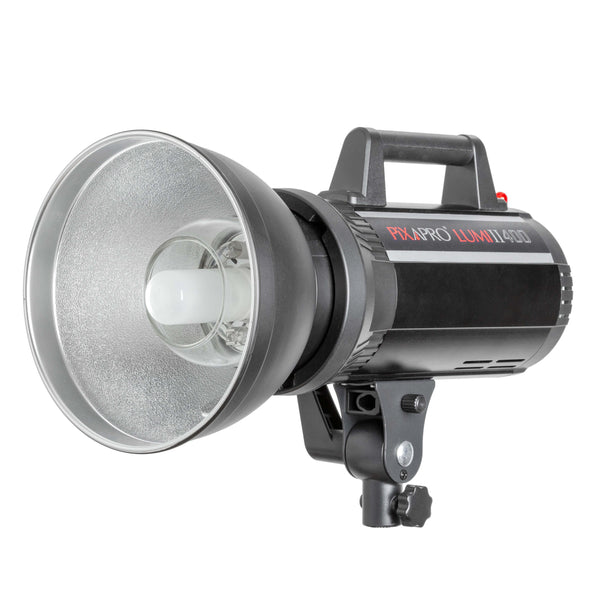
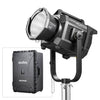
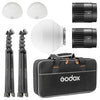
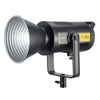
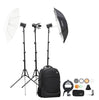
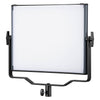
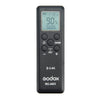
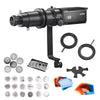
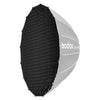
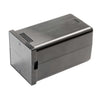
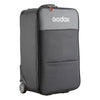
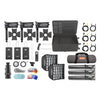
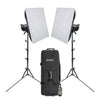
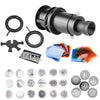
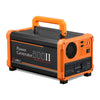
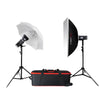
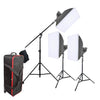
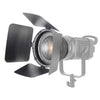
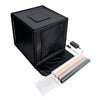
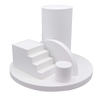
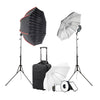
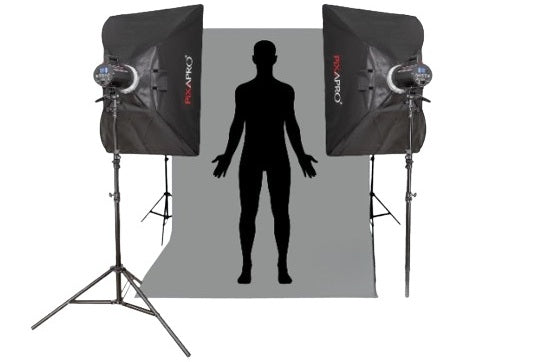
Option 1: Complete Lighting Kit
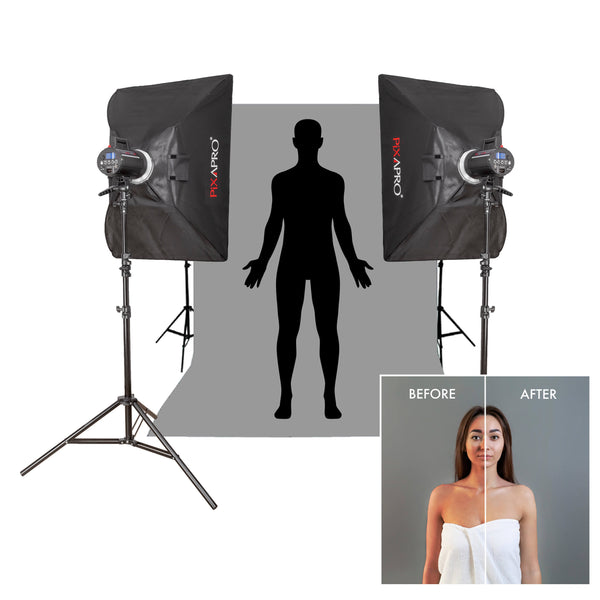
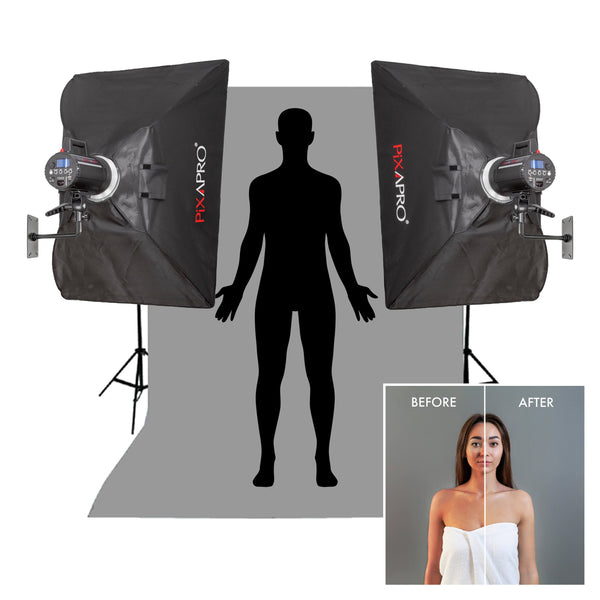
For those seeking convenience and budget lighting solutions, a complete lighting kit such as the Lumi400II kit offers an all-in-one lighting solution that is specially designed for pre- and post-treatment photography. Depending on your preferences and requirements, you have the option to use the Lumi400II with either wall plates or light stands. Generally, these kits include everything you need to achieve optional lighting conditions from flash heads, softboxes, and light stands to backgrounds.
For clinical photography, a common setup is placing two Lumi400II flash heads at approximately 45-degree angles to the patient at each side. Adjust the height and angle of light to the same as the patient’s height. For further soft light, integrate these Lumi400II flash with two rectangular softboxes ( included in the box). This combination helps create more natural-looking highlights and shadows, reducing harsh reflections on surfaces.
| LUMI400II Kit with a wall-mounted background: £619.99 | LUMI400II Kit with a paper background: £599.99 |
Option 2: Design Your Own Kit
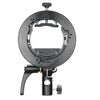
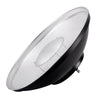
For practitioners with specific requirements in their clinical photos, designing your own lighting kit allows for greater customisation and flexibility. Start by choosing essential components such as studio flashes, light modifiers and accessories based on your unique requirements and shooting environments.
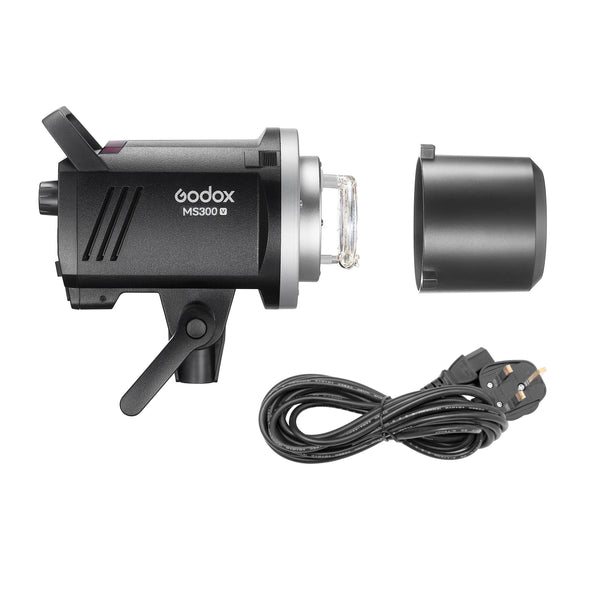
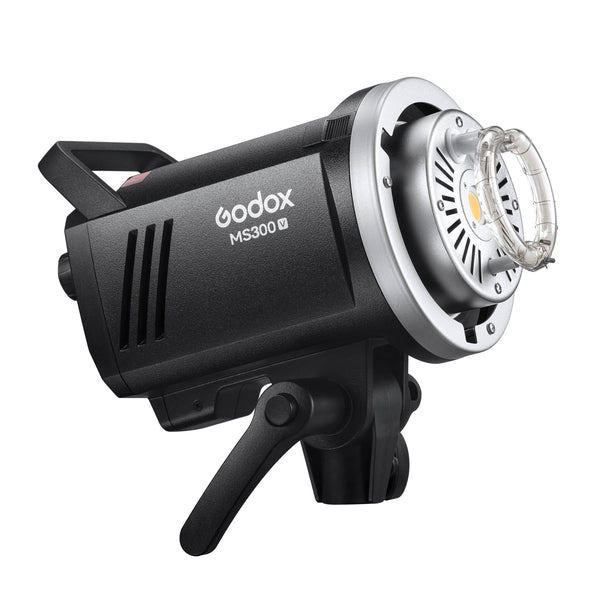
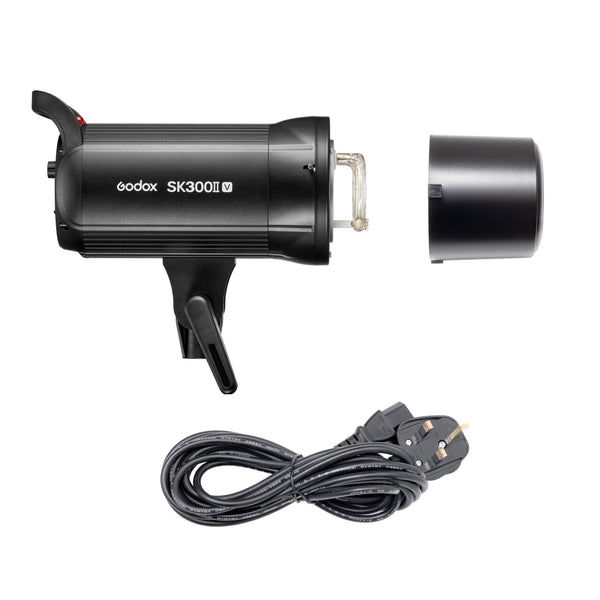
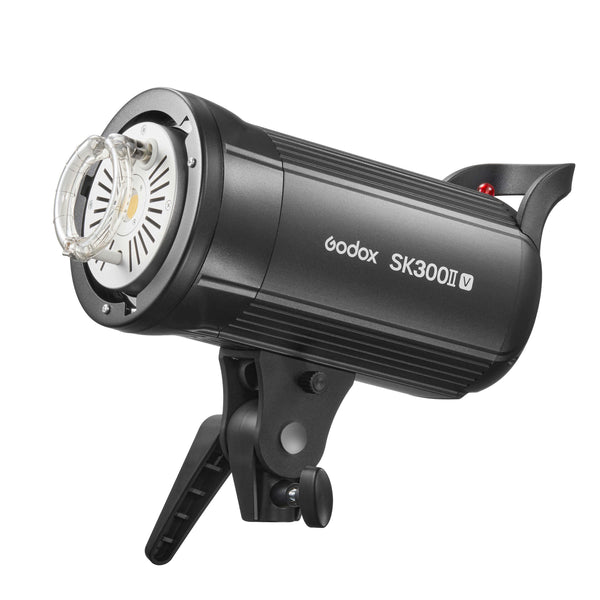
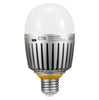
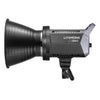
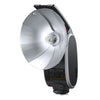
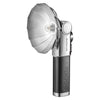
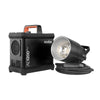
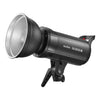
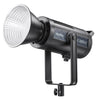
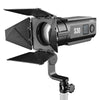
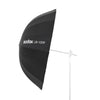
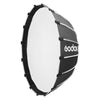
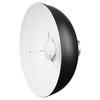
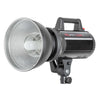
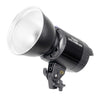
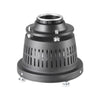
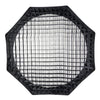
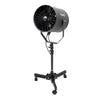
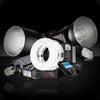
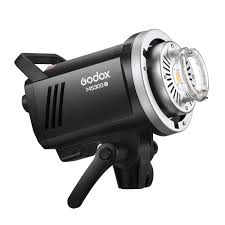
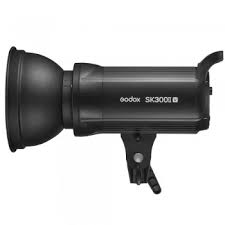
1. Studio Flashes
If you rely on overhead lighting in your clinic as your main light source, using studio flashes is the best option due to its powerful brightness and various adjustability options. It provides uniform and consistent illumination across the subject, minimising shadows and ensuring balanced exposure. This benefit is crucial for accurately capturing details in clinical documentation, such as skin conditions or surgical procedures. With its wide range of adjusting power settings, you can tailor the lighting to suit specific requirements and achieve the desired aesthetic outcomes.
 |
 |
 |
| Related article: The Best Photography Equipment for Your Hair Medical Photos
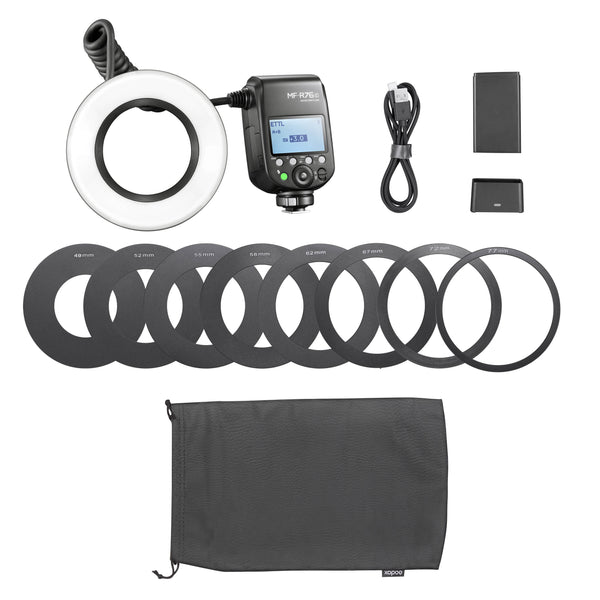
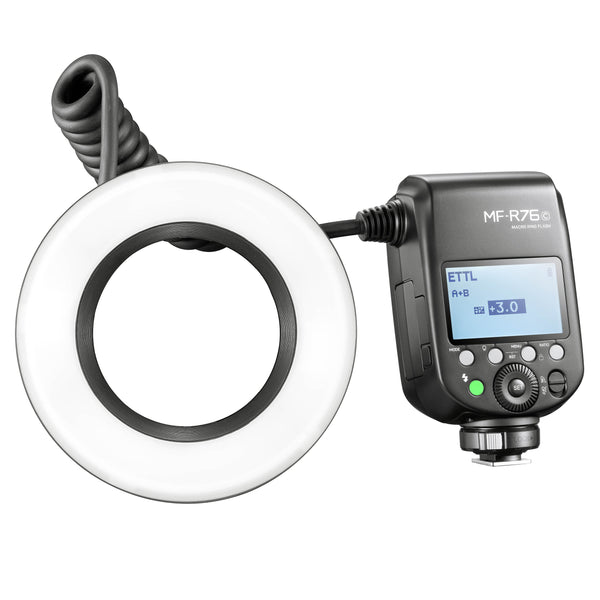
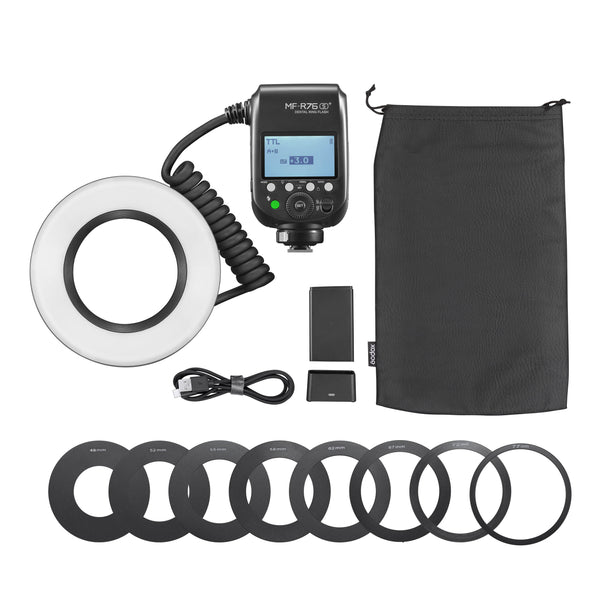
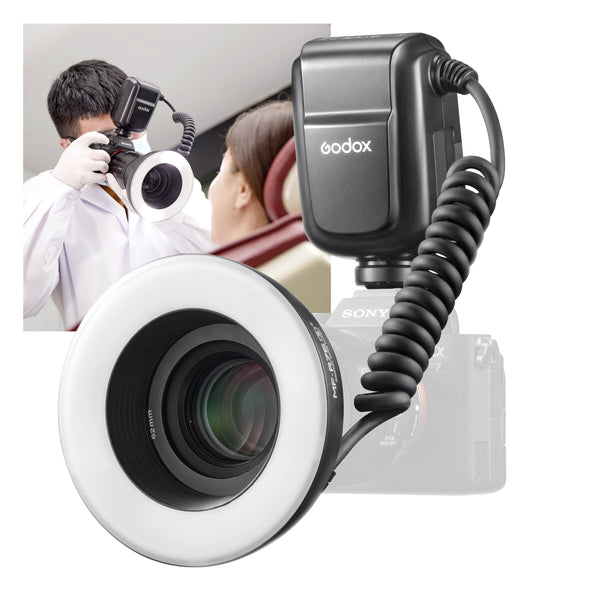
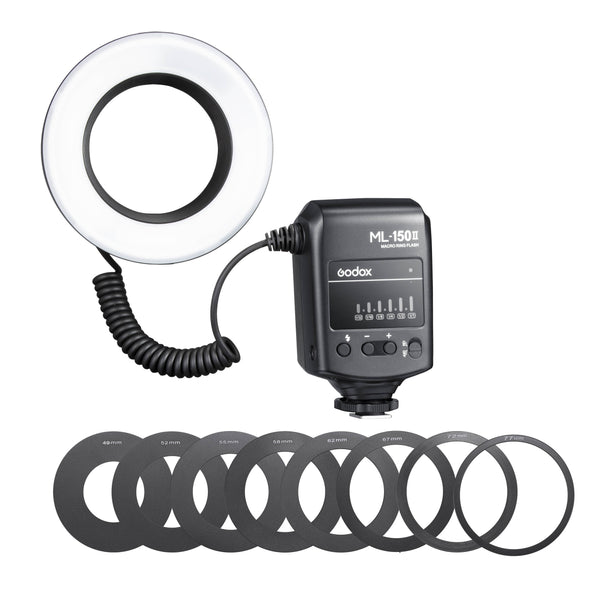
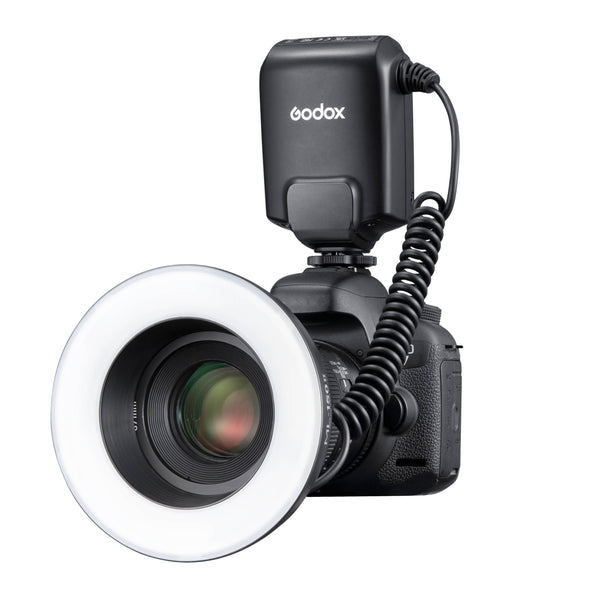
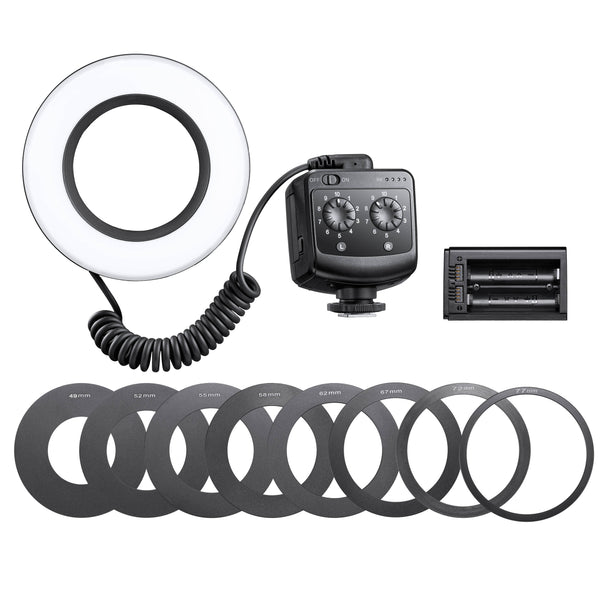
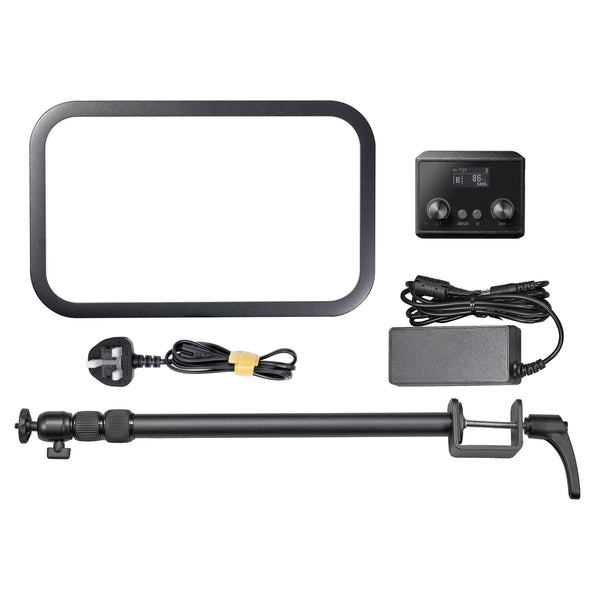
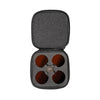
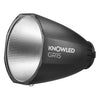
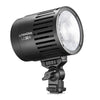
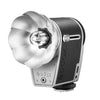
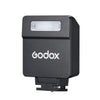
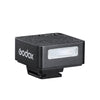
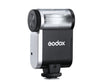
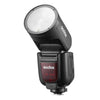
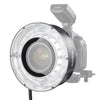
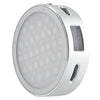
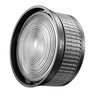
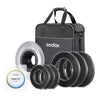
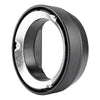
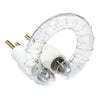
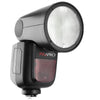
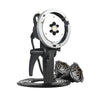
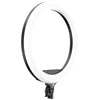
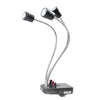
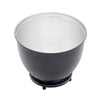
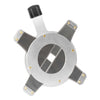
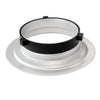
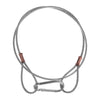
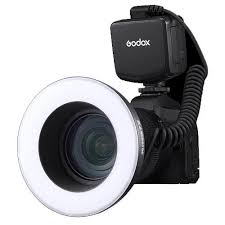
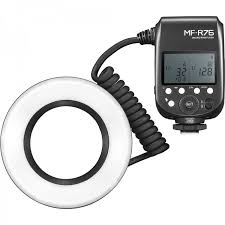
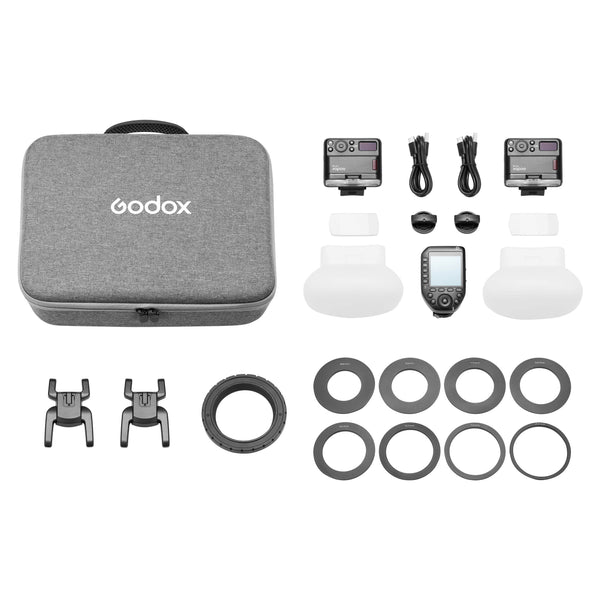
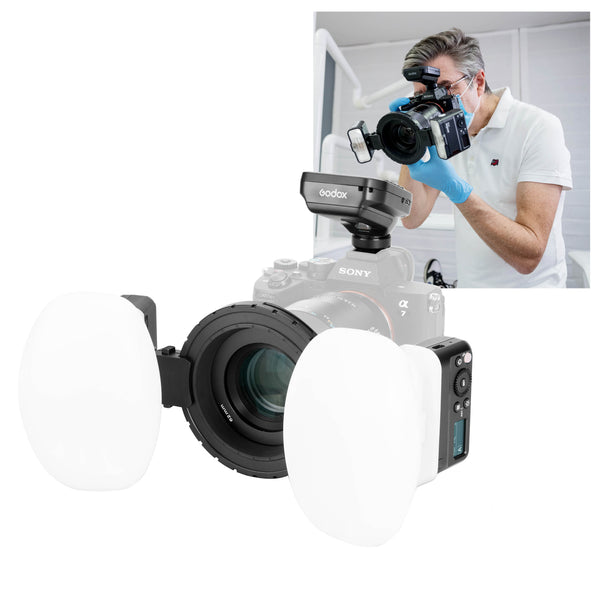
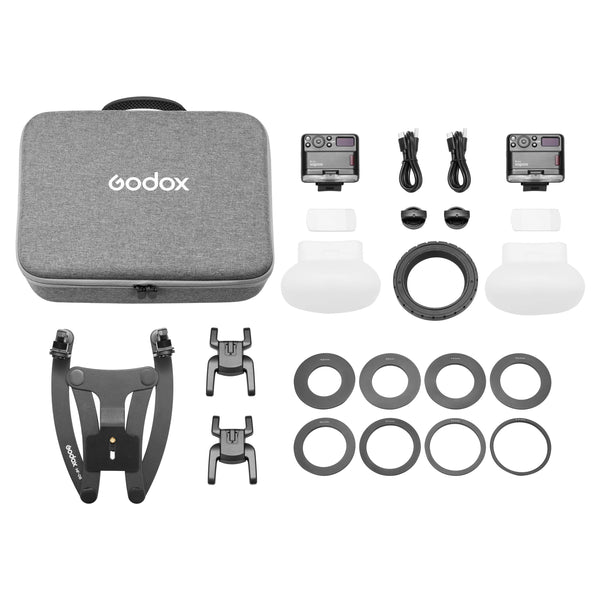
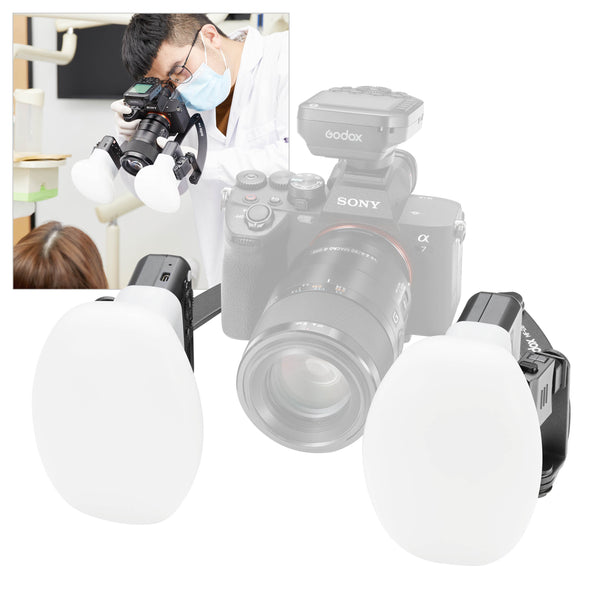
2. Ring Flashes / Dual Flashes
On the other hand, ring flashes and dual flashes are convenient and portable lighting options as it is directly attached to your camera. Designed for macro and close-up shots, these are great for producing uniform, shadow-free lighting, which is commonly used in intraoral and extraoral dental photography. This functionality is particularly useful to minimise glare and reflections in reflective surfaces like dental enamel or surgical instruments. In terms of dermatologic photography, it significantly allows for capturing close-up shots of skin conditions with accurate colour reproduction and minimal distortion.
 |
 |
 |
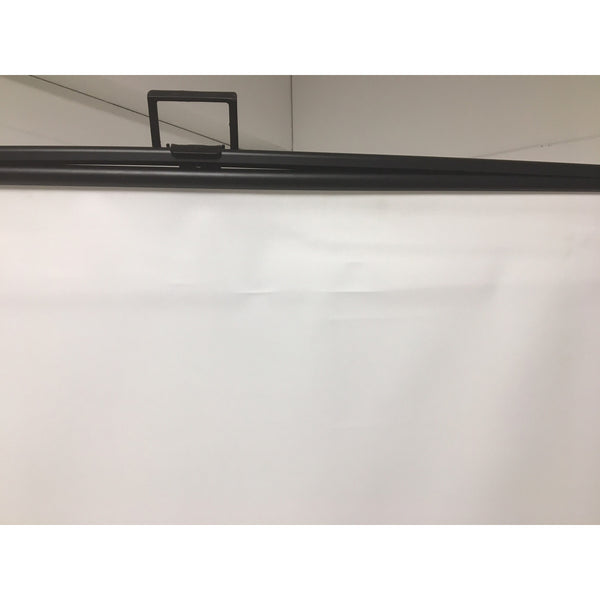
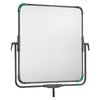
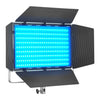
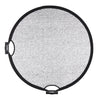
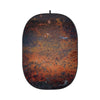
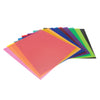
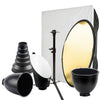
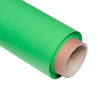
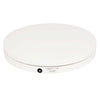
3. Backgrounds
As mentioned above, consistency is one of the key elements in before and after photos. For this reason, make sure to use the same background during your clinical photo shoots. For example, if the background of the after image is pink and the before image is yellow, this slight difference affects a change in the perception of the patient’s skin tone.
The best option is neutral backgrounds (white, grey or beige), which helps keep the focus on the subject. This type of background is versatile and suitable for a wide range of clinical photography, from portrait shots to close-up images of medical conditions. If you have limited space or require portability for on-location photography, a collapsible background may be a better option. However, if you prefer a permanent installation, a wall-mounted background may be more suitable.
 |
 |
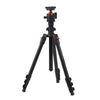
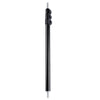
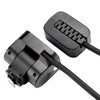
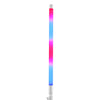
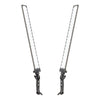
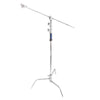
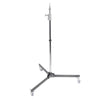
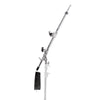
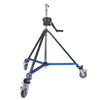
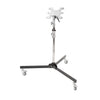
4. Light stands
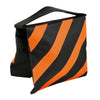
Another way to guarantee the stability of each lighting tool is to select the appropriate light stand, ensuring they stay firmly in place throughout clinical photography processes. This stability is essential for preventing accidental movement or damage lighting tools. Choosing a light stand with adjustable height and angle mechanisms, such as the 240cm Air Cushioned Light Stand and the 220cm Heavy Duty Light Stand, provides clinicians with the capability to position the light source accurately to achieve the desired images.
 |
 |
View the full range of Medical Photography at EssentialPhoto & Video here: https://www.essentialphoto.co.uk/collections/medical-dental.
EssentialPhoto is an Official Godox Partner and trusted UK Distributor, stocking the widest range of Godox kits in the UK. We offer up to 2 Year Warranty* across our stock and customer support and after-sales repair at our British store.


.png?v=1684397964210)