


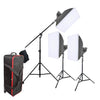


The Comprehensive Photography Lighting Checklist for Beginners
Getting started with photography lighting can seem like a huge step, especially for photographers with minimal lighting experience and it can be daunting purchasing lighting for the first time too. So, we've put together the perfect blog for photography lighting beginners to cover the basic, essential lighting equipment you need to start off with, why it's important, plus some tips on how to use the equipment to it's best potential.
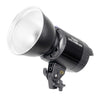
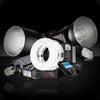
1. A Light Source
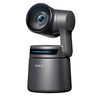
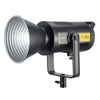
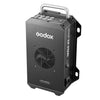
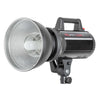
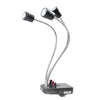
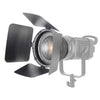
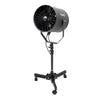
The most important piece of equipment for photography lighting is the light source itself. Whether you choose natural light, continuous lighting, or strobe lighting, the quality and direction of light will greatly impact your photos. Experimenting with natural light photography before investing in photography lighting can help you get a better understanding of lighting your model or subject before making the step to using lights. After all, the primary purpose of a light is to replicate sunlight in a way that you can control it completely.

Artificial lighting can be a huge aid in photography, as it allows you to overpower any ambient lighting and allows complete control over the lighting effects. Using lighting gives you the ability to create a story, to focus on a particular feature or detail, to invoke a feeling or theme, and at it's most basic level, can add depth and dimension to your images. Even just one light can make a huge difference to your images, so you don't need a full multi-light setup to get started with!
Check out Tommy Reynolds' Live Photography Workshop on our YouTube Channel on using just One Light to create a whole range of different portrait photography styles! ⬇
Photography lighting can come in a few options:
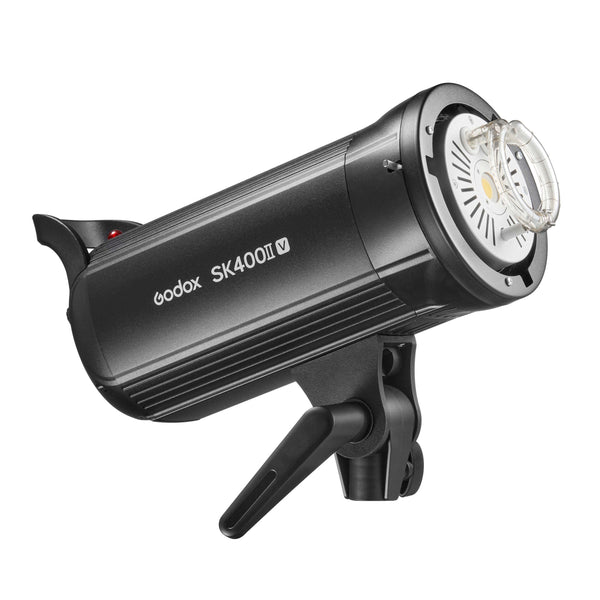
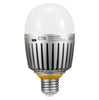
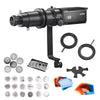
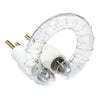
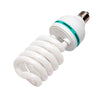
Fluorescent lighting, much like a standard light bulb, uses filaments and is a continuous light source, making it great for beginners and for those shooting product photography. Fluorescent lights often come in kits with fixed softboxes, making them a great all-rounder budget lighting option to give as a gift to budding photographers.
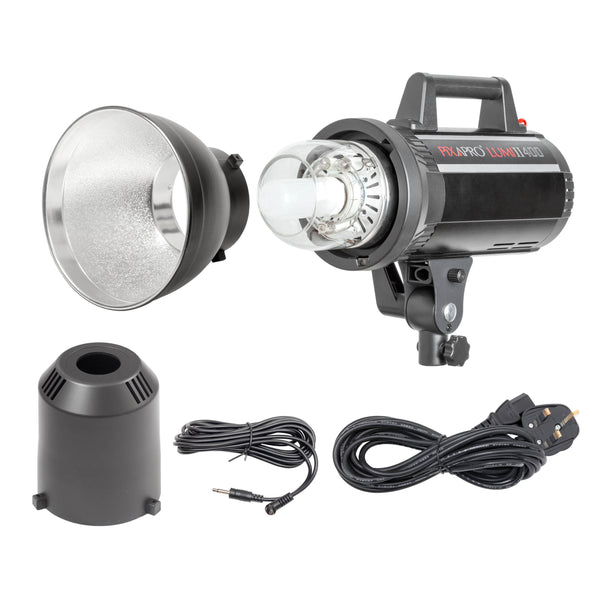
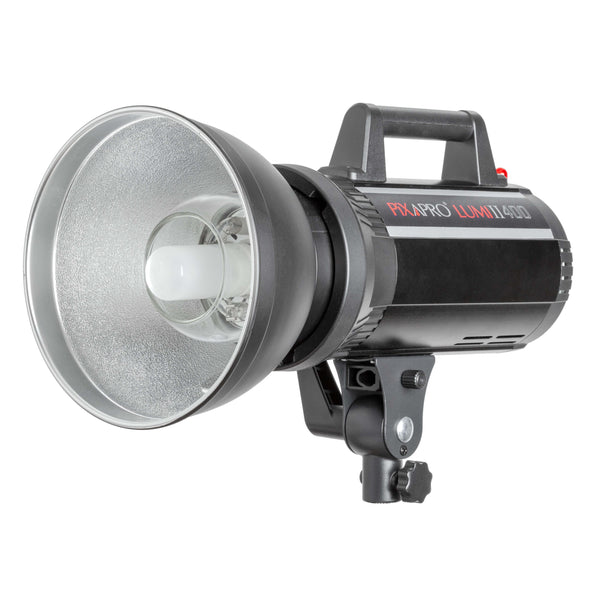
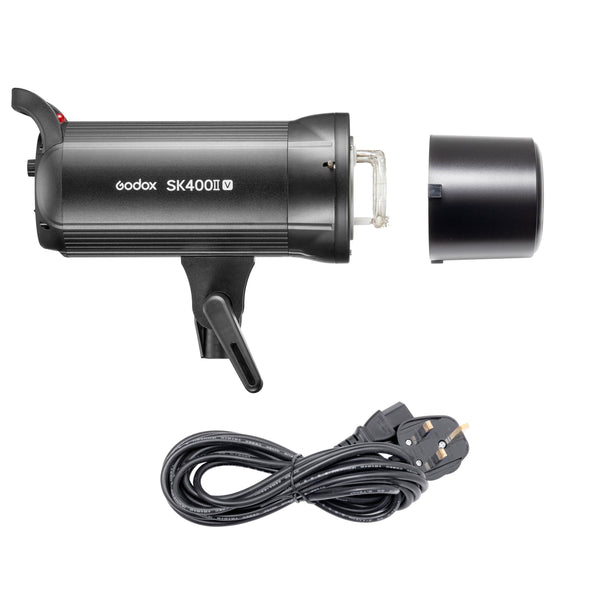
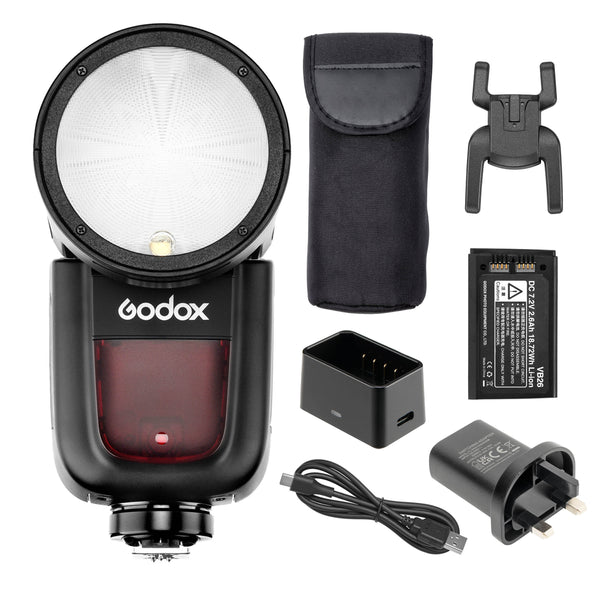
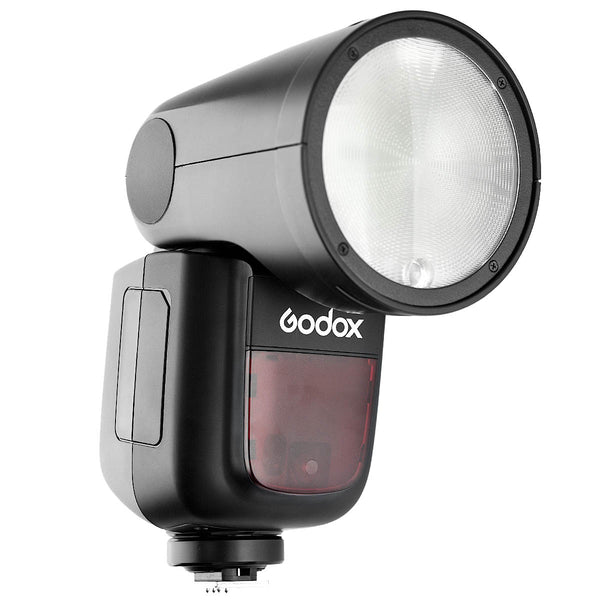
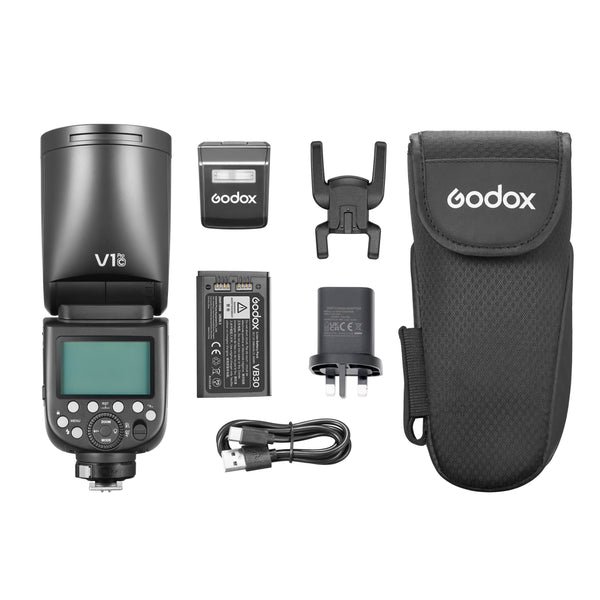
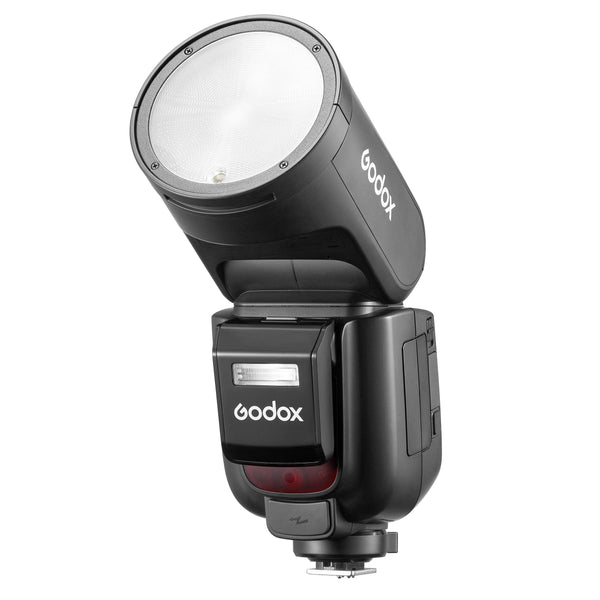
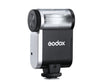
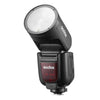
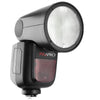
Flash Lighting, or strobes, as the names state, uses flashes of light to illuminate the shot, which offers a few benefits over continuous lighting including brighter light output and the ability to capture sharp action images such as for dance or pet photography. Flash can also come in a compact on-camera option called speedlights, which are handy battery powered flashes generally up to 100w in power.

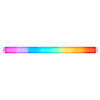
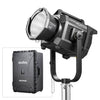
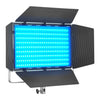
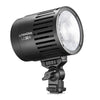
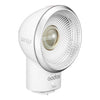
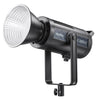
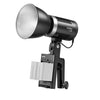
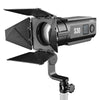
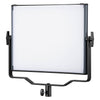
LED Lighting is another continuous light source, instead comprised of LEDs either in multi-bulb flat panel form, or in single COB head form. LED has the benefit of being able to produce RGB colour lighting, which fluorescent and flash can't do without extra accessories.
Find out more: Flash vs Continuous Lighting
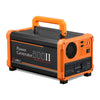
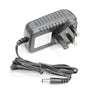
Lighting can come in a range of different power outputs and also in battery powered vs mains powered options. Mains powered lighting is more affordable for those on a budget, and is perfect for studio shooting. For those shooting on location, investing in battery powered lights is advised.
Recommending flash vs continuous lighting for beginners on the other hand is much more about your personal preference and what you're shooting than anything else - as mentioned, flash is better for action shots and for capturing movement, whereas LED is great for straightforward studio shooting for portraiture or products. Check out James Marson's blog below on his experience using LED lighting as a beginner:
See similar: Using Continuous Lighting over Flash as a Beginner by James Marson
We'd recommend the following lights from each range based on their affordability and suitability for beginners:
 |
 |
 |
 |
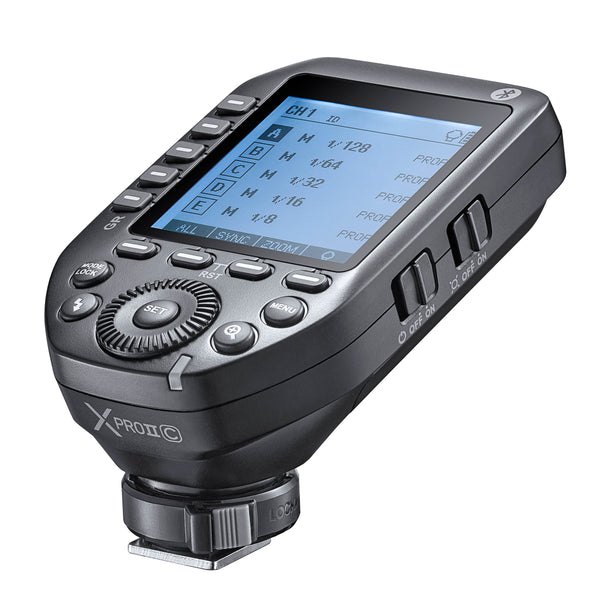
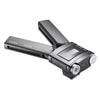
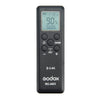
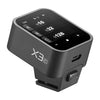
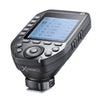
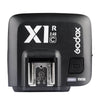
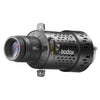
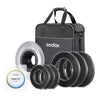
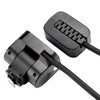
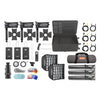
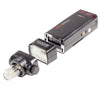
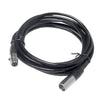
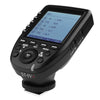
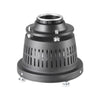
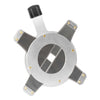
2. Triggers
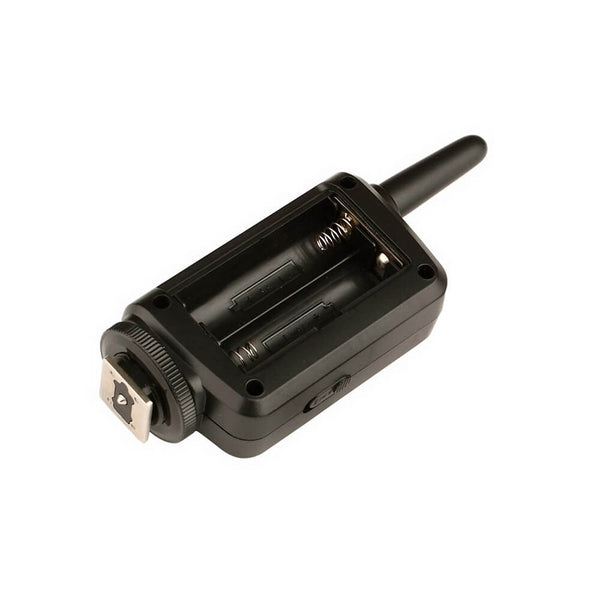
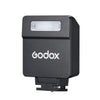
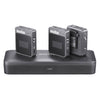
If using flash lighting only, you will need a transmitter, also known as a trigger, to trigger the lights. A trigger attaches to the hotshoe on the top of your camera, and communicates with your camera and the lights, to tell the lights to fire when you press your shutter.
Triggers are only necessary for strobe/flash lights as LED and fluorescent lights stay lit and don't need to be told when to fire. You also don't need a trigger if you've got a setup of just one speedlite attached to your camera. An on-camera speedlite will communicate with your camera directly instead.

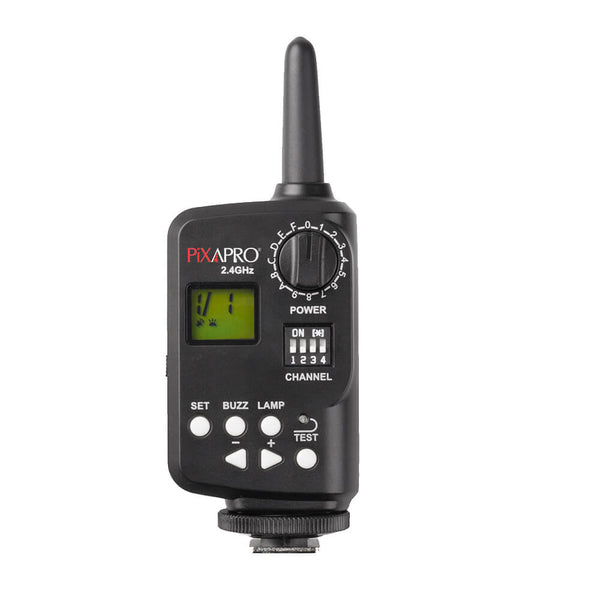
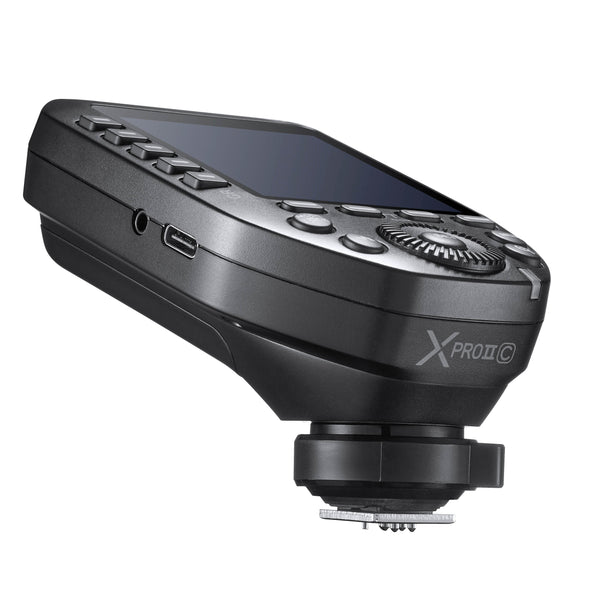
Tip! PiXAPRO and Godox triggers will tend to communicate on the 2.4GHz frequency specifically. Make sure you match the trigger frequency with your receiver/flash frequency, or otherwise you won't be able to connect them together. A flash from another brand will require both a receiver and trigger to work.
Luckily, the majority of our flashes work on the same system, so Godox and PiXAPRO 2.4Ghz flashes and triggers will always work together, with most of our flashes also having built-in 2.4GHz receivers built into the flash. This means you won't need a separate receiver, and your trigger should communicate directly with your flash. Pretty neat!
Some triggers are universal, and will work will all camera brands, however these won't support TTL features. If you'd like to use TTL, make sure to purchase a trigger that supports this and ensure you pick the right trigger for your camera brand so that it's compatible.
Our recommended trigger options are:


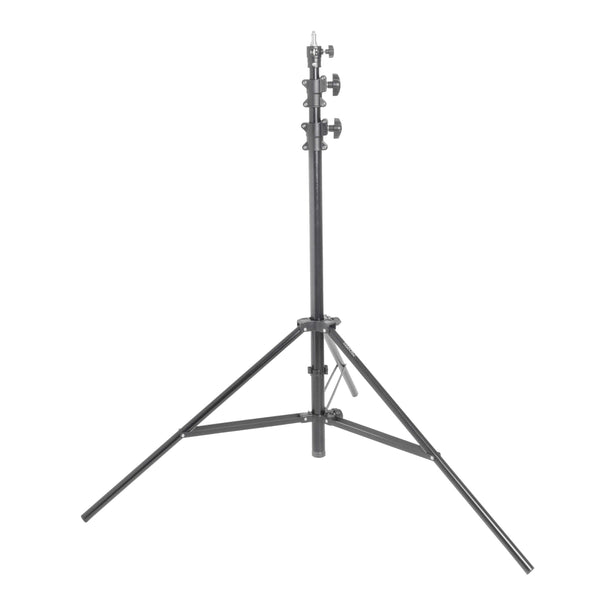
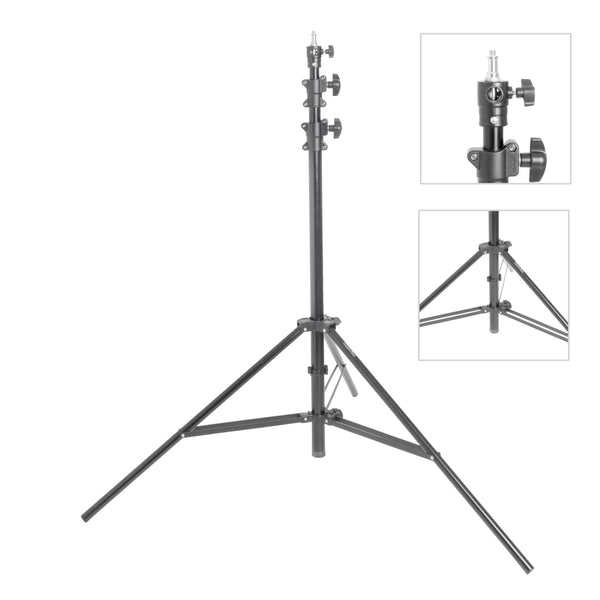
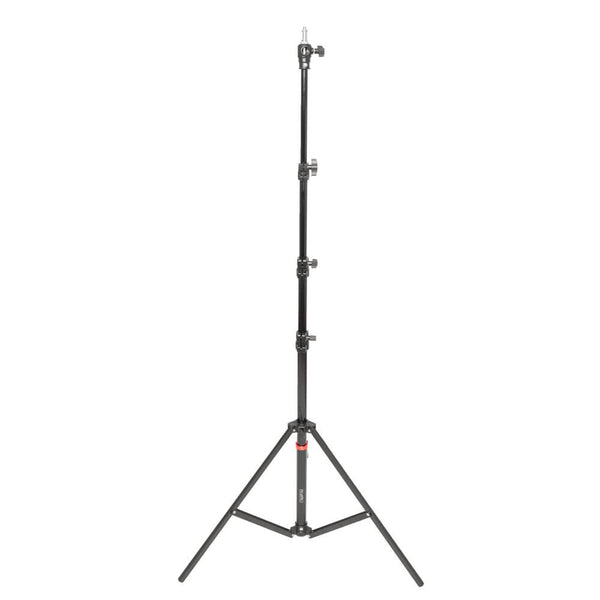
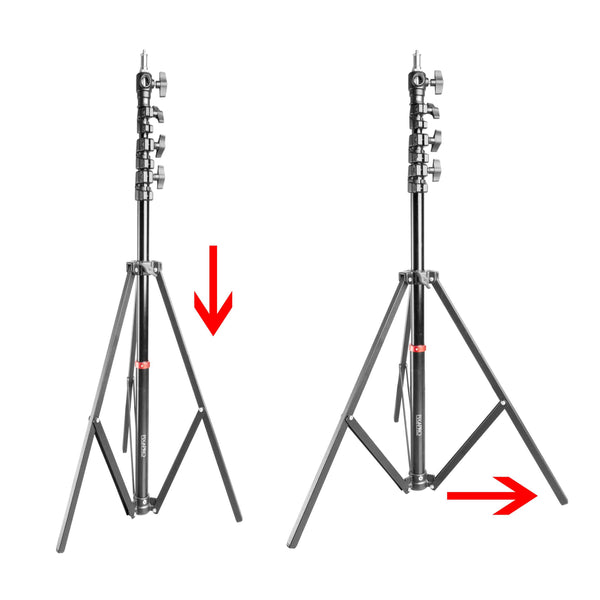
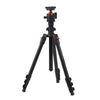
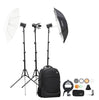
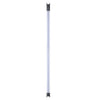
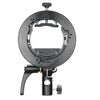
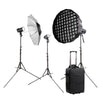
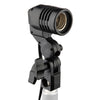
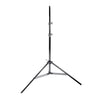
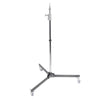
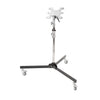
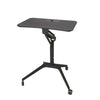
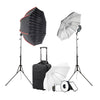
3. Light Stand
A sturdy light stand is essential to position your light source at the right height and angle to your model or subject. This ensures a consistent direction of light, and means you can tweak the position of your light to perfect it.
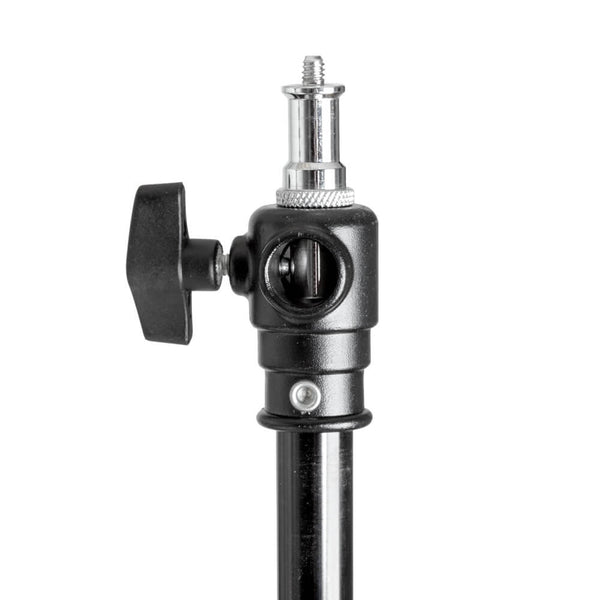
Light stands come in a wide range of sizes and maximum weight limit for all kinds of shoots, and generally have a standard spigot included, which is a traditional universal 5/8” spigot with 3/8” screw thread on one end and 1/4” on the other. Smaller lights will screw directly onto one of the screw threads, while larger lights that come with a light stand mount bracket will slot over the whole spigot and tighten with a knob to keep it sturdy.
Tip! Make sure to check your light stand maximum weight limit against the lighting and modifiers you'll be pairing with it to ensure you're using your stands safely.
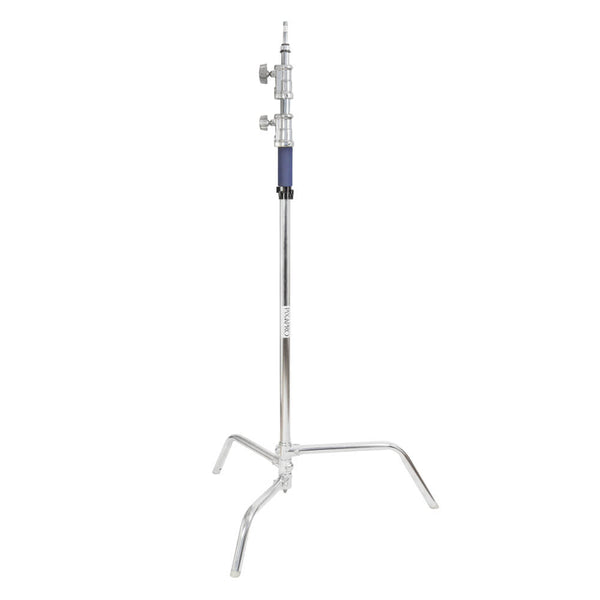
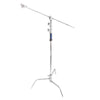
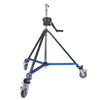
Most standard light stands are great for both location and studio use, and many of them collapse down quite small, making them perfect for travelling with and storing. On the other hand, you can buy C-Stands and wheeled tube stands for studio purposes, which are often much heavier and sturdier, though more difficult to transport or pack away.
See similar: YouTube: How to Safely use a C-Stand with Richard Bradbury
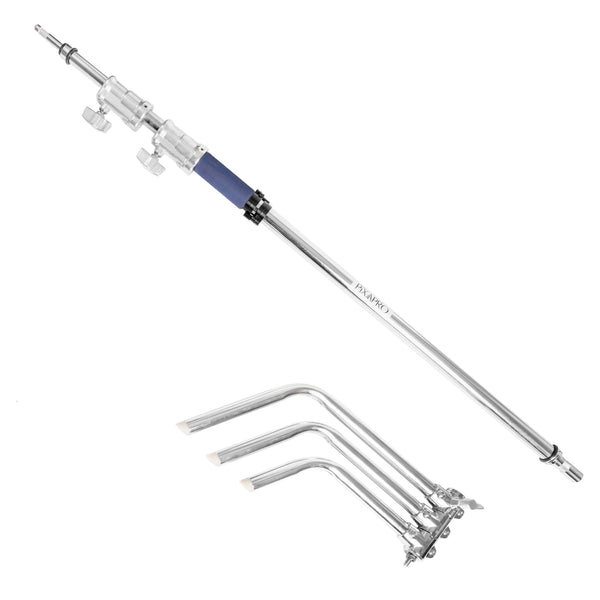
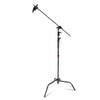
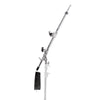
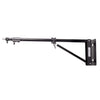
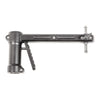
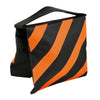
For overhead lighting, a boom or grip arm is advised, paired with a filled handheld sandbag to balance the weight of the light on the stand. But what's the difference between a boom arm and a grip arm?
Tip! A boom arm is telescopic, and can extend, or boom, to reach further. A grip arm, on the other hand, is a solid tube arm that attaches with a grip head attachment.
See similar: Three Ways to Use C-Stand Grip and Boom Arms | with Mark Willshire


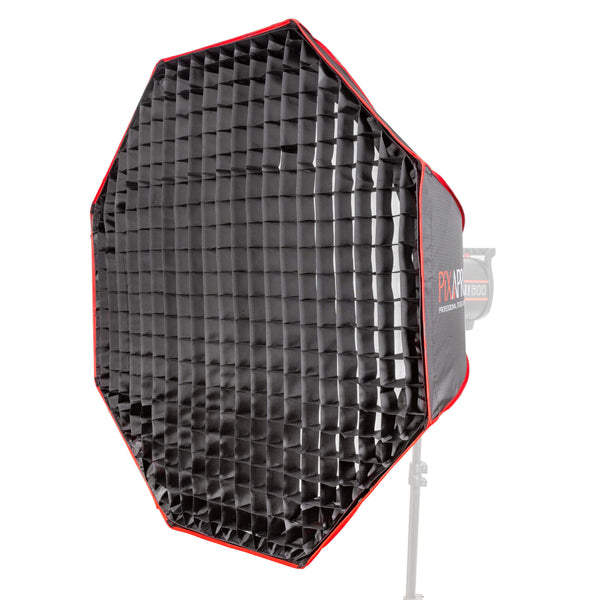
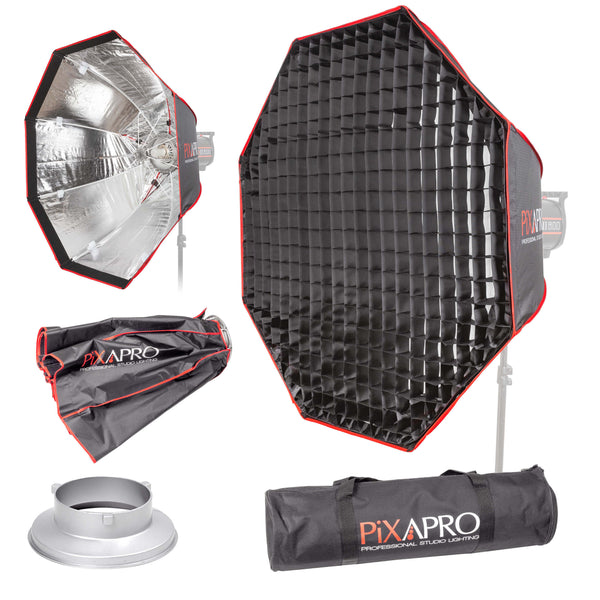
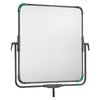
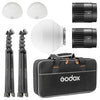
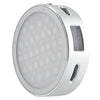
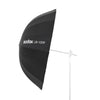
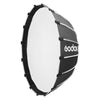
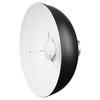
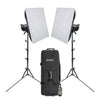
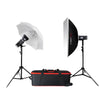
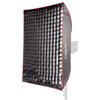
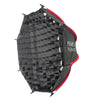
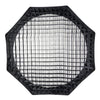
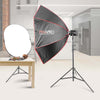
4. Basic Lighting Modifiers
To control the light effects, you can use modifiers which you will generally attach to the front of your light. To get started with, we'd advise checking out some:
Check out our handy blog A Guide to Lighting Modifiers for an in-depth breakdown of the different photography modifier options!
Tip! Make sure that if you're purchasing a softbox or reflector to fit directly onto your light, that you choose the correct speedring fitting for your light. e.g. If your light uses a Bowens S-Type fitting, make sure your softbox is purchased with the Bowens S-Type fitting! This info will always be including on the listing.

Modifier Effects
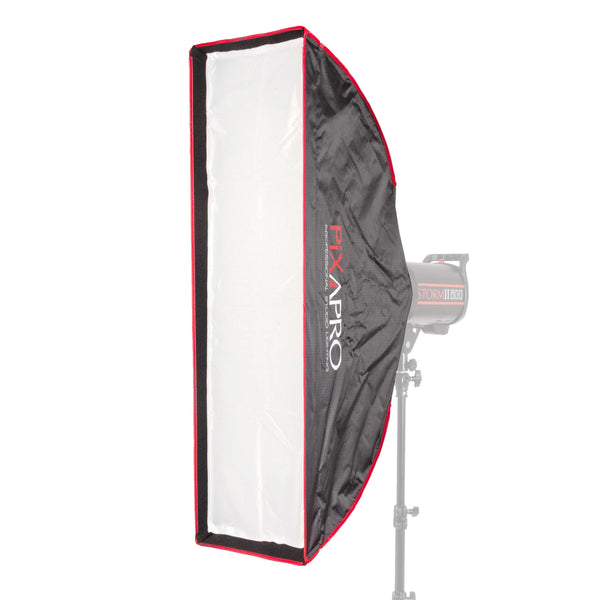
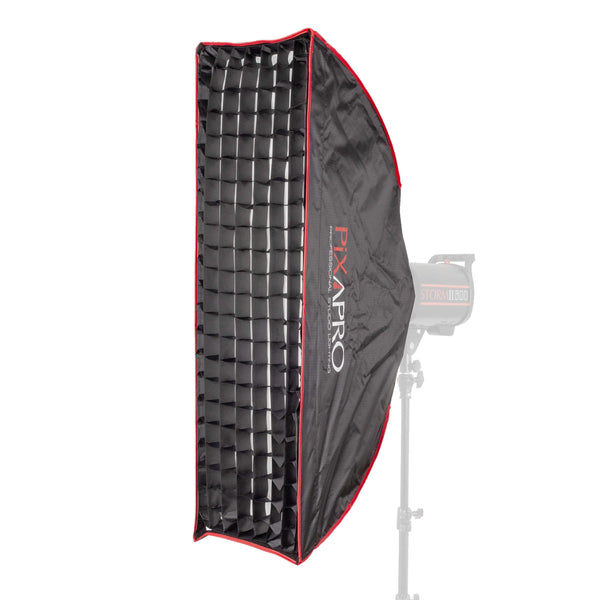
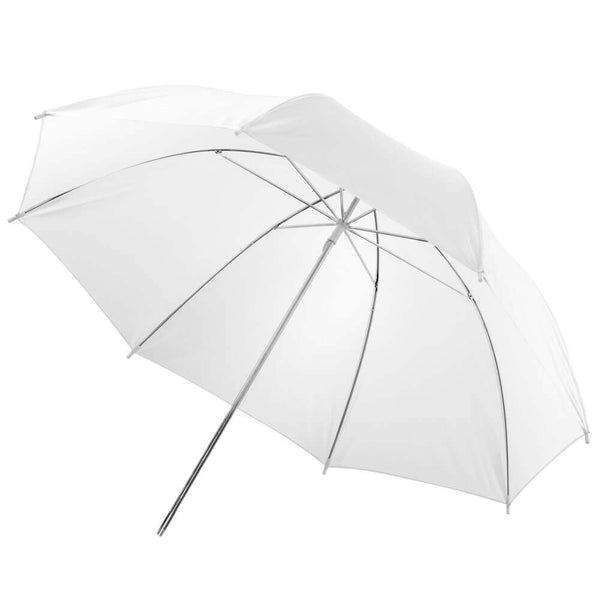
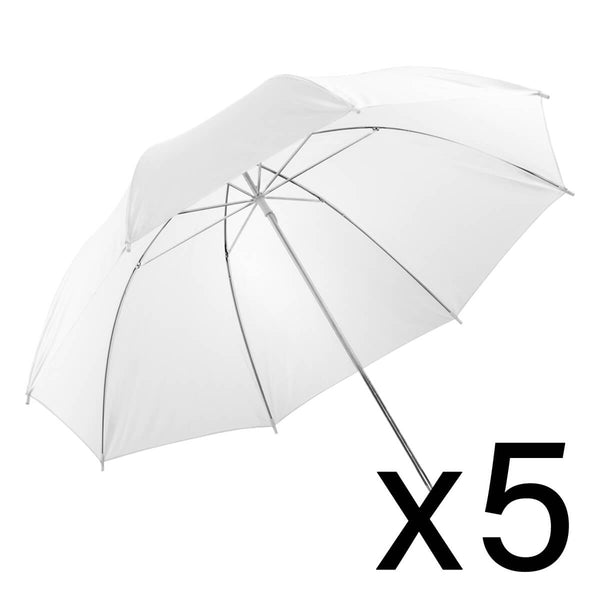
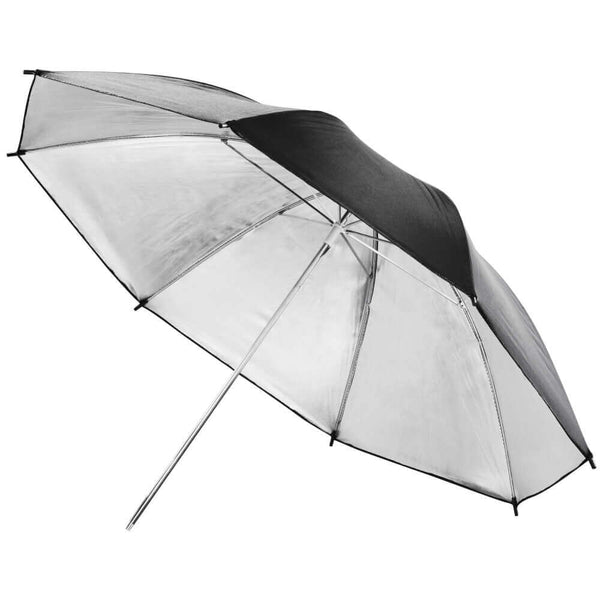
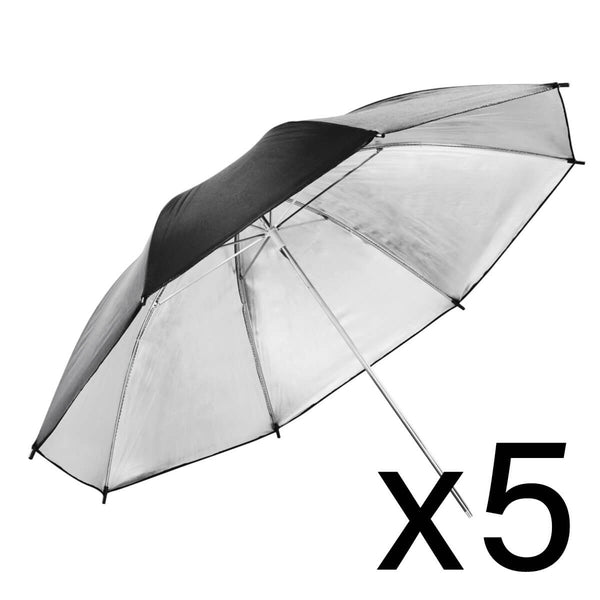
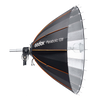
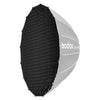
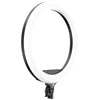
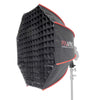
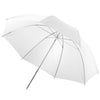
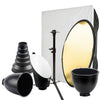
To soften and diffuse the light, a softbox or umbrella is necessary. These tools will filter and/or bounce the light around the modifier to help create a more flattering and even light on your subject, reducing harsh shadows and highlights. These can have the option of a white or silver interior. White will reflect warmer, while silver will reflect brighter and cooler in your image.
See similar: How to Choose the Best Softbox
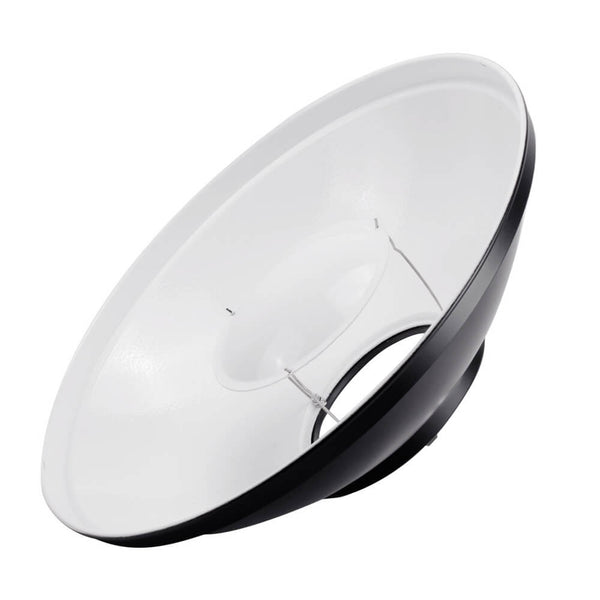
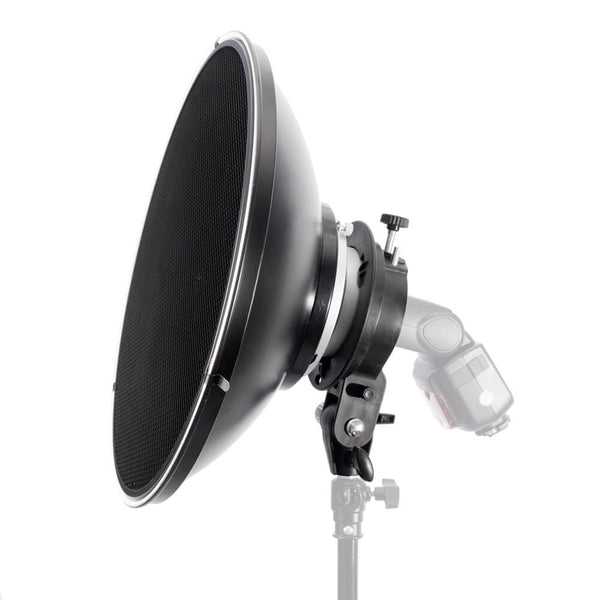
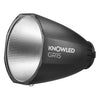
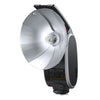
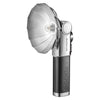
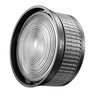
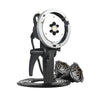
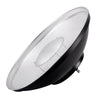
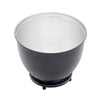
Beauty dishes and reflectors will work to direct the light towards your model or subject, and can be great for headshots and beauty shoots as they can create an appealing circular catchlight in the eye.
Tip! A good rule to remember with modifiers is that the larger the modifier, the softer the light will be, as the light will bounce and spread further around the modifier. A smaller modifier will direct the light at a tighter angle and will be more harsh.

See similar: How to Choose a Beauty Dish for your Photography Lighting
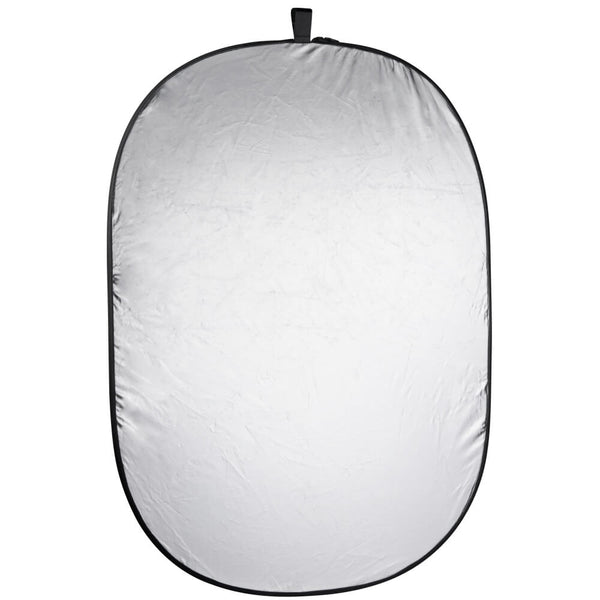
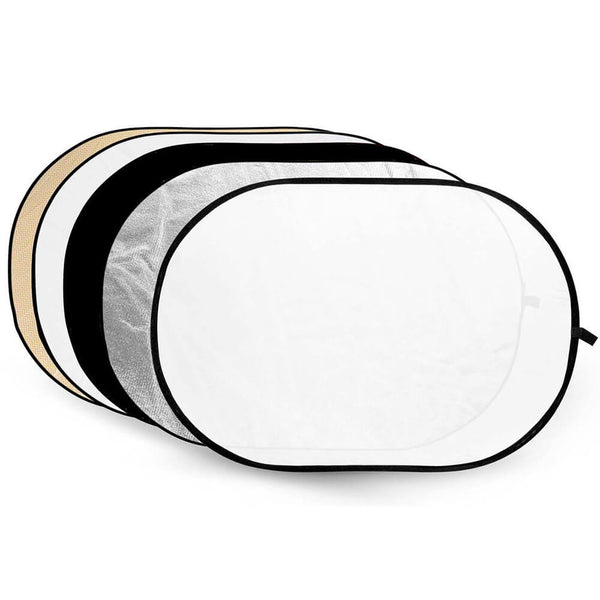
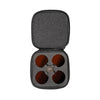
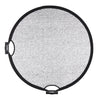
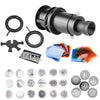
A handheld pop-up reflector is used to bounce light back onto the subject, filling in shadows and adding a touch of brightness to the image without the need for more lights. It's a versatile tool that can enhance the overall lighting setup and our reflectors will have 5 colour options in one.
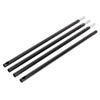
Tip! Most modifiers will come with, or have the option to purchase separate grids and diffusers. These accessories can be added to your modifier to soften the light further. Check out our blog on grids to find out what effect to expect.
Once you've used these more straightforward and common modifiers, then you can move onto more complex options such as Optical Snoots, gels and gobos which are great for creative concept shoots.
We'd advise some of the following modifiers to get started with:


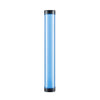
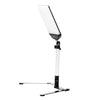
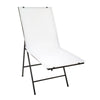
5. Backgrounds
Backgrounds, while not always necessary for photography if you're shooting in a pretty location or you have a plain wall to use, can be a great tool for your images, and simply offer the ability to turn any location into a studio.
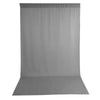
White backgrounds can be perfect for high-key photography with high contrast, and grey backgrounds will work for this too! See our video for some tips on lighting a grey background to make it look white: How to Achieve 4 Looks with One Grey Background with Jason Vaughan (6 mins)

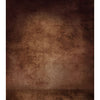
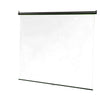
Backgrounds can come in a range of styles and patterns including heavy duty vinyl, PVC and sophisticated handpainted options, but there are some options that are perfect for photography beginners.
See similar: Choosing the Best Size Background for Your Photography
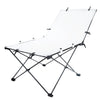
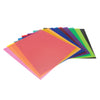
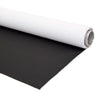
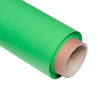
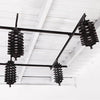
Paper backdrops are particularly handy due to their low cost and vibrant colour options, making them great for those collecting multiple of. Our paper rolls are 1.35m wide by 10m long, making them easy to trim and recycle if it ends up damaged or stained. You can purchase a straightforward paper background and telescopic stand set in one kit here. Add on a few Spring Clamps to secure the roll to the stand and you're good to go!
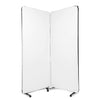
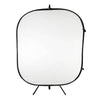
Or, Collapsible backdrops are made of fabric with a pop-up metal frame, and are perfect for travelling with, for headshots, and for minimising equipment as these can easily be propped up against a wall if you don't have a spare stand.
Ready to shoot?
Once you've popped yourself a kit together with the items listed above, you'll be great to get started shooting with photography lighting! If you have any questions about lighting or would like some assistance picking out some equipment, why not get in touch with our advisor team at info@essentialphoto.co.uk?