A Beginner's Guide to Car Photography and Lighting
Whether you're shooting Car photography as a hobby as a car enthusiast, or if you're a car dealership looking to generate more sales through eye-catching imagery, this blog is for you! Car photography can be tough for a number of reasons, especially for beginners, due to the challenges that come with shooting such a large object, as well as the fact that most cars are made and painted with shiny, reflective materials, meaning they will reflect hotspots of light. Find our photography and lighting tips for lighting and capturing cars both in the studio and outdoors in this bumper article to help you take sharp, clean images of vehicles with ease. 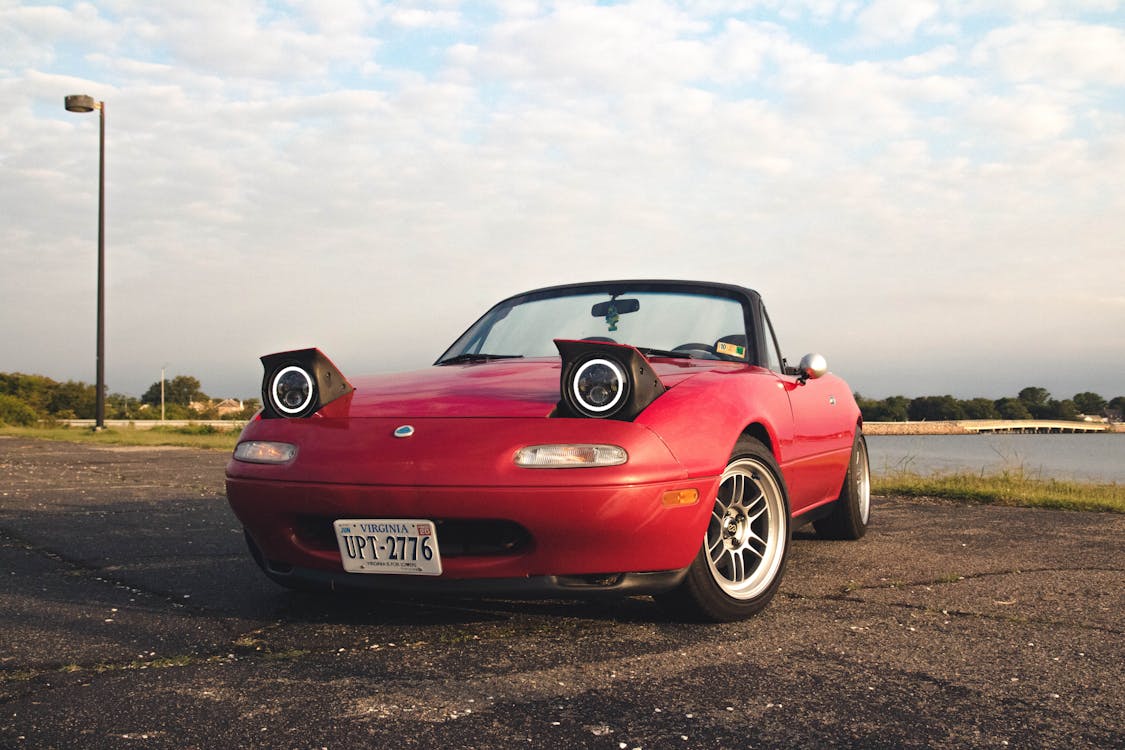
Challenges of Car Photography
Volume of Cars and Photographs
For a dealership, the number of cars that need to be photographed can be a deterrent to shooting high-quality images. If your dealership intends to promote dozens of vehicles in the near future, you will need to photograph each one individually.
Each vehicle will require multiple high-quality shots of the exterior and the interior. This means you may need to hold multiple photo-shoots over the course of several days. More photographs also means more time spent on editing and correcting photos. Car dealerships should plan their photography sessions well in advance to ensure the final photos are ready in time for promotional activities.
Consistency
Photographing a series of cars can be tricky as each vehicle needs to be captured in a consistent manner. Find the right camera setup that allows you to take similar shots easily and without spending too much time on adjustments.
Lighting
Photography lighting is crucial for car photography as you will need to control for reflections and ensure the car is evenly lit. These reflections may vary from vehicle to vehicle depending on their exact shape and curvature. Photographers will need to use modifiers to account for these reflections.
Location
It is also vital to find the right location to photograph cars in. A hired studio space will mean that the cars will be lit consistently and mean that you can control the lighting and shooting conditions to the best of your ability. However, outdoor shooting can be beneficial and can add a lot of interest to the image, especially if you have the freedom of being a hobby car photographer or professional. Though, outdoor conditions make lighting your images trickier.

Using P Series Panels and a Scrim for Studio Car Photography
Getting Started
Here are steps to get started with photographing vehicles for your dealership.
Get a Quality Tripod
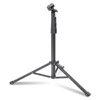
A good tripod stand can take your photography to the next level and will enable you to take consistent and stable shots.
A good tripod stand can last for many years, so it is wise to invest in one, especially if you're looking to capture images at the same angle for multiple cars.
Choose the Right Lighting
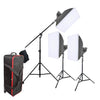
Photography lighting enables you much more control over your image, and can mean a balanced exposure in each shot. There are a range of lighting options available, and a selection or kit of multiple lights can ensure you get even and consistent light around the car, and mean that you can highlight specific features or branding logos.
Continuous Lighting
Continuous lighting offers the benefit of, as the name states, continuous light which enables you to build up your setup while seeing what the final result will look like before you take your shot.
Continuous lighting such as LEDs are generally mains powered, though battery compatible ones are available, meaning these are best used in a studio or if you've got easy access to mains power outdoors.
Large continuous lighting set ups would utilize 9 to 10 LED panel or head units, with 4 overhead and 4 on the floor. This arrangement allows you to bounce light off the wall or ceiling, thereby reducing the need for a single large light source.
Continuous LED lighting is also great for shooting videos, which are becoming more and more common in product promotions on E-commerce stores, so would be suitable if you're looking to double up on content.

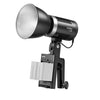
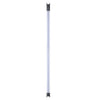
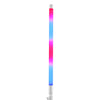
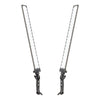
Light Painting can be a great addition to creative car photography, with RGB LED Lighting used to complement the colour of the car. Try out light painting with lights such as the TL60 paired with a long exposure shutter image.
Flash Lighting
While continuous lighting offers many advantages, plenty of photographers prefer to use flash lighting, which holds the main benefit of being brighter and generally more powerful than LED or fluorescent lights, thanks to working with your camera's shutter speed. This is great if you want to avoid working in a darkened photography environment or if you're shooting at night.
Flash or strobe lighting can be difficult to use in some environments due to it's non-continuous nature - while many do have modelling lamps, these are often low powered and not always an accurate representation of what the full powered flash itself would look like. Flash also isn't suitable for shooting video, but has many battery powered options which would be best for shooting outdoors with.
Framing Your Shots
It is possible to photograph a vehicle while it is parked alongside the other vehicles at your dealership. However, it is best to separate it from the rest if you intend to make your shots look professional.
For the best framing for each image, it's best to separate the car from any distractions that can make the image look too busy, such as other cars and people, as well as anything bright and colourful that might clash with the car. You want the car to be the main focus of the image so it really stands out! You should also ensure that the image fills the frame so that it draws the eye.

Tips for Photographing Vehicle Exteriors
Photographing your vehicle’s exterior is especially important as it is the first thing someone will notice - especially if these images are for a customer. Some important tips for photographing vehicle exteriors include:
Using Multiple Angles
You should ideally photograph each vehicle from multiple angles. This includes from:
- Front left
- Front
- Sides
- Back
- Back left
These angles are easy to understand and should be used for each vehicle you photograph.
Move the Car Not the Camera
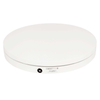
Another great tip is to move the car you are photographing instead of the camera. This means you should rotate the car to get photos of each angle. Some dealerships build or purchase 360o rotating platforms specifically for this purpose. However, simply moving the car and parking it at a different angle can work just as well.

Shoot from a Low Height
The best car photographs are often taken from low angles to emphasise shape and scale of the car. Don't be afraid to squat down and get on eye-level with the vehicle’s headlights to get some imposing images. You should also remember to take pictures from the same height when photographing the vehicle from different angles.
Choose a Sufficient Lighting Set Up
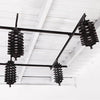
Depending on where you'll be shooting, your lighting setup will change vastly. For large studio car photography, you will have a lot more control over the space and lighting. If you pick a studio with sufficient pantograph or overhead rigging for lighting, this would be the best option to help produce clean, even lighting that will be as close to replicating natural sunlight as possible.
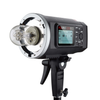
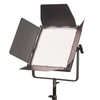
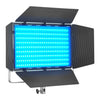
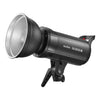
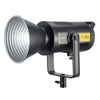
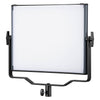
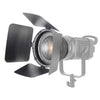
Large car-specialising studios will likely already have lighting in place for this, but if you're looking to create your own for commercial photo or video purposes, then we'd recommend some high-quality and powerful LED Panel lights which can be mounted to the ceiling rigs. These could be the Godox KNOWLED P600 panels (at 600w each and controllable via App, remote or DMX/CRMX) available in bi-colour or RGB options, which can be mounted and controlled together.
 |
 |
 |
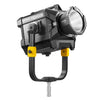
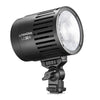
| KNOWLED P600Bi Hard 1'X1' 700W Bi-Colour Hard Light Cine LED Panel | Godox AD600Pro Witstro All-In-One Outdoor LED Flash Light | SL200II Daylight Super Quiet COB LED Video & Photo Light |
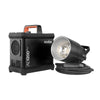
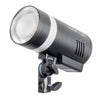
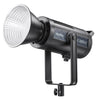
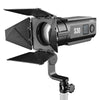
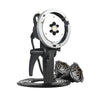
Or, if you're a hobbyist photographer and looking to shoot outdoors, smaller scale flash or LED lights will work well for this and will be much more affordable and portable. If shooting outdoors, flash would be more suitable, but lights such as the Godox AD600 Pro flashes, or the Godox SL200II LED heads can be used.
Don't forget, if you're using flash lighting, you'll need a trigger to go with it!
Modifiers and Scrims
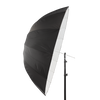
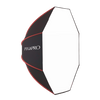
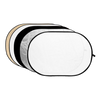
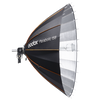
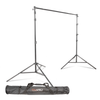
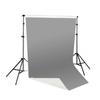
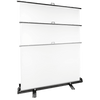
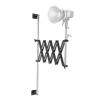
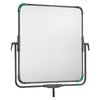
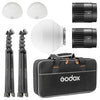
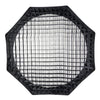
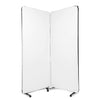
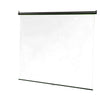
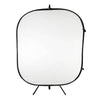
The key addition to these lighting options is to include large softbox modifiers with standard lighting head lights, and for either large studio or outdoors shoots, use scrims diffusers. These scrims, when placed between the light and the car, will soften the light significantly and go far to reduce hotspots of light and will also help to reduce reflections on the body of the car.
The larger the softbox or scrim, the softer the resulting light will be as it increases the surface area of the light.
 |
 |
 |
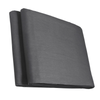
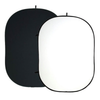
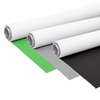
| 1.5 x 2.5m Heat-Resistant Grid White Diffusion Fabric | (240x240cm) 94.4x94.4" Butterfly Overhead Diffuser With Aluminium Frame (stands not included) | Diffusion Paper Roll (1.2x18m) |
Tips for Photographing Vehicle Interiors
Photographing vehicle interiors can be tricky due to limited space and angles. However, taking the right shots of the interior is vital for attracting customers. After all, the car’s new owner will be spending the vast majority of their time inside the vehicle.
Some tips for photographing vehicle interiors include:
Use the Right Lenses
The main challenge of photographing vehicle interiors is getting your desired items to fit into the shot. This can be difficult due to the distance between the camera and the dashboard or seats being very small. One way to get around this is to use a wide angle lens such as a 24mm which will allow you to get more space into the frame.
You can also use a macro lens such as a 100mm to get detailed close-ups of individual components such as the speedometer or manufacturer badge.
Pay Attention to Lighting
Car interiors can be difficult to photograph because they tend to be dark. One might assume that turning on the vehicle’s overhead lighting would fix this problem, but this creates uneven lighting with certain spots being bright and others being dark.
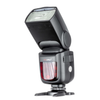
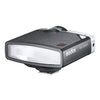
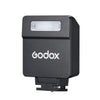
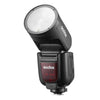
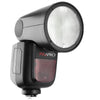
You can try moving the vehicle to a sunny spot. However, this typically results in too-bright lighting on the dashboard while the rest of the interior remains relatively dark. Instead, give yourself greater control over the lighting by purchasing two speedlight flashguns such as GIO1 Round-Head TTL Speedlite. These are compact lighting options that are easy to move around and hide in photographs, and can also be mounted to the hotshoe of your camera.
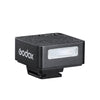
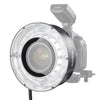
Small handheld LED Panels can also be useful for this purpose to draw attention to small details. The KNOWLED C5R panel is RGB and palm-sized, and can be mounted to a mini tripod or held to light your car interior.
For more comprehensive and wider interior shots, Flexible LED Panels can be an asset thanks to their ability to be folded and mounted in tight locations. The F200Bi Flexi Panel at 200w is powerful enough to light a car interior and is great if you also need to light a model in the car with natural lighting.
Editing Your Car Photos
Setting up the vehicle, lighting, and camera will take up the majority of your time in car photography. However, another important step that should not be overlooked is editing. Many car photographers edit their photographs to make the vehicle look its best, and remove any remaining distracting reflections for example, or potentially any scratches if you're shooting an older or classic car as a hobby.
One might assume that you should avoid editing car photos, especially for dealerships, as you would like to give customers an accurate look at the vehicle. However, some minor adjustments and touch ups in a photo editing software such as Photoshop can still give the vehicle a slightly more attractive appearance without coming off as deceitful.
Balancing the Contrast
Cameras rarely capture real life images with the exact same colours that we see. For this reason, you may need to balance the photo’s contrast using editing software. Some people like to turn up the contrast to make the colours appear more vivid within the constraints of accuracy.
Cropping
You may need to crop your car photos depending on the type of lens you used. In each scenario, your goal for exterior shots should be to fit the entire vehicle in the frame and omit any distracting background elements.


 Looking for some other lighting options? Browse our range online now for everything from Flash and LEDs to accessories, light stands, modifiers and more to suit your car and auto photography.

