Food Photography Lighting: Everything You Need to Know
As with all photography, lighting is key with food photography, with the right lighting enabling dishes to look irresistible. We've compiled our best lighting tips for mouth-watering food photography so that you can shoot stunning images both at home or on location at restaurants.
Replicate Natural Light
Natural light is often the most flattering and best suited to food photography to bring out the colours in the ingredients and make the dish look appealing to the viewer, and most importantly, natural, like it's something inviting that you could see on your kitchen table. Natural light often provides a soft and diffused light quality that will brighten the dish and reduce harsh shadows.
See similar: Avocado Food Photography - A 2-Minute Lighting Tutorial - With Barry Mountford
However, natural light is notoriously difficult to control, as it's unlikely you'll be able to always keep it consistent, unless you're lucky and have a cloudless day. So how do we fix it? By using artificial lighting to replicate the sun. Many flashes and LEDs have daylight balanced colour temperatures or settings that will accurately replicate the same colour warmth and feel of sunlight, to make this easy indoors or in studio environments!

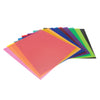
For replicating warmer tones of sunsets and "golden hour" lighting, colour correcting (CCT) gels are the way forward, enabling you to cast an orange glow to your scene, or, you can look for Bi-Colour LED options which will allow you to adjust the colour warmth on the light itself.
Reduce Harsh Shadows
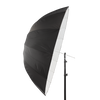
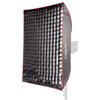
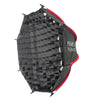
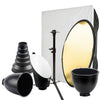
Harsh shadows can make a food image look very dramatic. While this can be a great look if you're aiming for a punchy image, oftentimes, reducing shadows and using soft lighting is the best way to make the food look flattering and desirable. Diffuse your lighting by using large softboxes on your lights, and use the supplied inner and outer diffusion sheets to filter the light through to soften it.
Tip! The larger your softbox or modifier, the wider the spread of light! This helps to make the light softer.
Diffusers are also your friend when it comes to shooting drinks photography where you need to reduce reflections in glasses and bottles. Surrounding your product with white diffusion sheets will block off any distracting elements and ensure the reflections all look clean and tidy.
Fill in Dark Spots
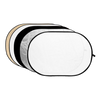
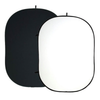
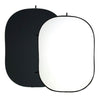
If you're struggling with dark spots on your setup where light isn't quite filling in where you want it to, using something as simple as a handheld reflector to brighten up and fill in shadows. This can also help to highlight any specific areas of the food you'd like to stand out or be a focal point, or can help to reduce the number of lights in your setup.
Perfect Your Setup
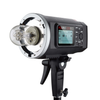
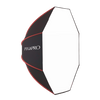
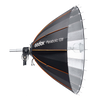
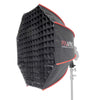
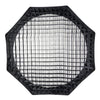
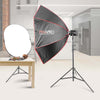
To get your light looking as close to natural sunlight as possible, it's best to aim for a one-light setup to avoid it looking like you've got multiple "suns" in your scene. One light will also help keep things straightforward and reduce room for error. Choose a nice high-powered flash that will give you as much control as you need over your scene and overpower any ambient lighting, and pick out a large modifier such as the 90cm Octagonal Easy Open Softbox or larger to spread the light to wrap around your dish.

If you're finding one light isn't going far enough to sufficiently light your scene or dish, you can add more lights to your setup; just make sure that you won't end up with shadows going in different directions!
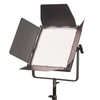
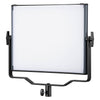
Tip: If you're finding that you're struggling to visualise your image with a flash, try switching to an LED light instead! LEDs are continuous, and will allow you to see the final result before you take the shot so you can get the right exposure and ensure everything is perfect. This is also handy if you're shooting a menu for a restaurant and you'll be swapping out lots of dishes.
Use Appealing Backgrounds
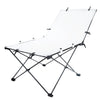
The angle of shot and the backgrounds will always be impacted by your lighting setup. If shooting flatlay, find a nice table to style your dishes on (wood always works well) and dress it with cutlery, side dishes and tableware that might compliment the colour of the food and crockery. If you've not got a dining table, try using textured boards that will replicate a wooden design. These are also great as a portable option.
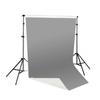
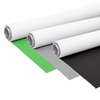
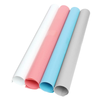
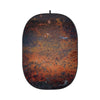
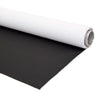
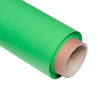
For side-profile food photography, you can try using a plain white or black background to offer a neutral accompaniment to bright coloured foods, or you can choose a complimentary paper coloured backdrop which will make your images super eye-catching.
If shooting on-location in a restaurant, using the dining area as a backdrop is a great way to showcase the dining vibe in the image and can be great for restaurant advertisements. Any decorative lighting in the background can also add some interesting bokeh effects if unfocused.
Our Top Food Photography Lighting Kits
By following these expert tips for lighting food photography, you'll be able to capture stunning images that showcase your culinary creations in the best possible light. Remember, practice makes perfect, so don't be afraid to experiment and find the lighting setup that works best for your unique style and dishes.
Food Blogging and Social Media Food Content
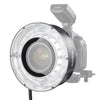
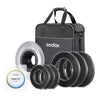
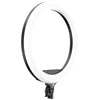
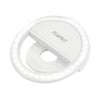
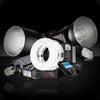
RICO140 Bi-Colour LED Ring Light
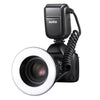
Wonder what gets effortlessly lit and bright photos on all those food blogs on Instagram? It's Ringlights! Ringlights are perfect for using for home-shot content, especially if you're using your phone for Instagram and TikTok content due to being straightforward and affordable. With built-in diffuser covers for the LEDs on the light, ringlights naturally offer soft and diffused lighting on a small scale if you're filming recipes and food-prep, and have the added benefit of a smartphone holder so you can record with on-axis lighting.

The RICO140 is a 14 inch diameter ringlight that offers an adjustable colour temperature between 3200K (tungsten) and 5600K (Daylight), to match the colour of the lighting in your shooting environment. It also has a Colour Rendition index (CRI) of ≥90 for accurate colour representation, and produces a shadowless light and dimmable brightness.
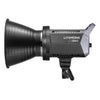
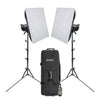
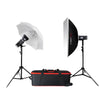
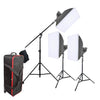
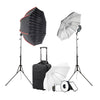
An affordable monolight kit, the LUMI400 flash kit uses one studio flash plus accessories and is a great place to start if you're looking to build your food photography kit or get started in the industry. At 400w, the LUMI flash is more than powerful enough for straightforward food photography shots, and the accompanying 120cm Octagonal Softbox comes with an inner and outer diffuser, plus a honeycomb grid, allowing for maximum light control.
The kit also comes with a 60cm 5-in-1 handheld reflector, which can be used to fill in any awkward shadows. All you'll need now to get shooting is a 2.4Ghz compatible trigger!
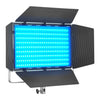
After a multi-light food photography kit? The GLOWPAD LED kit is a great option, and comes with one large circular LED Panel, and two smaller rectangular LED Panels for side lighting! These LEDs offer a wide spread of soft, diffused lighting without the need for modifiers, at a daylight balanced value of 5600K.
It also comes with a 90x90cm Scrim diffuser, made from high-quality translucent-white nylon, which is designed to diffuse harsh-lighting and reduce specular highlights on your subject.
 Ready to get shooting? Practise with the tips we've provided in this blog and you'll be a food photography pro in no time! Contact our team if you'd like any recommendations on food photography equipment and our advisors will be happy to help! Email at info@essentialphoto.co.uk.

